Dealing with an insurance claim for roof damage can often feel like you’re playing a game where you don’t know all the rules. The insurance adjuster works for the insurer, and a contractor might see a big repair job. So, who is working just for you? An independent roof inspection for insurance claims is your most valuable tool for leveling the playing field. It provides you with a detailed, professional report that serves as concrete evidence to support your case. This documentation gives you incredible leverage, transforming the conversation from their assessment versus your word to a negotiation based on expert findings.
Key Takeaways
- Secure a Fair Insurance Claim with an Unbiased Report: An independent inspector works for you, not a roofing company, providing objective proof of damage. This detailed documentation is your best asset for preventing lowball offers and claim denials.
- Schedule Inspections at Key Moments: Don’t wait for a leak. The best times for an inspection are before filing an insurance claim, after a major storm, during a real estate transaction, and as part of your annual maintenance plan to prevent costly surprises.
- Vet Your Inspector for True Expertise: A reputable inspector will have professional certification, like from the NRCIA, and full insurance coverage. These qualifications ensure you get a reliable assessment and protect you from liability.
What is an independent roof inspection?
When you need an honest opinion about the state of your roof, an independent inspection is your best bet. Think of it as getting a second opinion from a specialist who isn’t trying to sell you a specific treatment. An independent roof inspection is a thorough evaluation performed by a certified professional who has no financial stake in the outcome. Their only job is to give you a completely unbiased and accurate assessment of your roof’s condition.
This is especially important when you’re navigating a tricky situation like an insurance claim or a real estate transaction. You need clear, factual information to make the right decisions, not a sales pitch disguised as an inspection. The inspector works for you, providing a detailed report that outlines any issues, their severity, and potential solutions without pushing for unnecessary repairs or a full replacement. This approach ensures the advice you receive is focused solely on protecting your property and your wallet. The NRCIA is the recognized authority in these types of inspections, setting the standard for objective and reliable roof assessments.
Independent vs. standard inspections: What’s the difference?
The key difference between an independent inspection and a standard one comes down to a potential conflict of interest. Many roofing contractors offer “free” inspections, but their primary business is selling and installing roofs. Because of this, their assessment might be influenced by the possibility of a big repair job. An independent inspector, on the other hand, has no such conflict. They are paid for their expertise and time, not for any work that might be recommended afterward. This separation ensures the information you get is objective, helping you understand the true condition of your roof so you can make an informed decision.
Why a third-party opinion matters
Getting a third-party opinion from an independent inspector can save you a significant amount of time, money, and stress. Their unbiased evaluation is a powerful tool, especially when you need to file an insurance claim. An independent report provides credible, detailed evidence of damage, which gives you leverage when negotiating with your insurance company. It ensures the insurer gets a complete and accurate picture of the roof’s condition, which can prevent lowball offers or unfair denials. This expert assessment empowers you to advocate for yourself and avoid paying for repairs you don’t actually need.
Why get an independent roof inspection for your insurance claim?
When your roof is damaged, filing an insurance claim can feel overwhelming. You have to work with your insurance company to get it fixed, and it’s easy to feel like you’re at a disadvantage. This is where an independent roof inspection becomes your most valuable tool. It provides a clear, third-party assessment of the situation, ensuring your claim is built on a solid foundation of facts. Think of it as bringing in your own expert to make sure your interests are protected every step of the way.
Get an unbiased look at the damage
It’s easy to assume your insurance adjuster will catch everything, but their goal is to assess damage from the insurer’s perspective. A roofing contractor might see a big repair job. An independent inspector, however, has one priority: to give you an honest, unbiased assessment of your roof’s condition. They work for you. This means you get a complete picture of any issues, from obvious storm damage to subtle problems that could worsen over time. This impartial report is crucial for understanding the true scope of repairs needed before you start your claim.
Strengthen your insurance claim
Walking into an insurance claim with a report from an independent inspector gives you incredible leverage. This detailed document, filled with photos and professional findings, serves as concrete evidence to support your case. Your inspector becomes your advocate, substantiating the damage and ensuring nothing is overlooked. Instead of a simple back-and-forth with the adjuster, you have a professional assessment that’s hard to dispute. This documentation helps you build a stronger claim, increasing the likelihood you’ll receive fair compensation. The expertise of a certified inspector adds significant weight to your position.
Protect yourself from claim denials
One of the biggest fears for any homeowner is having an insurance claim denied. Sometimes, denials happen because of pre-existing issues or hidden damage that went unnoticed. An independent inspection helps you get ahead of this. A trained inspector can identify underlying problems that could complicate your claim, allowing you to address them properly. Many insurance companies prefer reports from certified professionals, as it adds credibility. By using a certified inspector, you show your insurer you’ve done your due diligence, which can protect you from potential denials and keep your coverage intact.
What are the different types of independent roof inspections?
Not all roof inspections are created equal. Depending on your situation—whether you’re dealing with a new roof, storm damage, or routine upkeep—you’ll need a specific type of assessment. Think of it like visiting a doctor; you see a specialist for a specific problem. Understanding the different types of inspections helps you request the right service and get the accurate information you need, especially when an insurance claim is on the line. Each inspection serves a unique purpose, from verifying a new installation to investigating the cause of a leak. Let’s walk through the main types so you can feel confident you’re getting the right evaluation for your property.
Installation inspections
An installation inspection is exactly what it sounds like: a thorough check to confirm your new roof was installed correctly. After investing in a new roof, the last thing you want is to discover that poor workmanship has compromised its integrity. This inspection verifies that all roofing materials and techniques meet current industry standards and the manufacturer’s specific guidelines. Getting this confirmation is crucial for your roof’s long-term performance and durability. It also ensures your warranty remains valid. A proper LeakFREE® roof certification starts with a quality installation, and this inspection is your first line of defense against future problems.
Forensic inspections
When your roof fails or sustains damage from an event like a hailstorm or high winds, a forensic inspection is your go-to. This is an investigative deep dive to determine the exact cause of the problem. An inspector acts like a detective, uncovering the root issues that might not be obvious at first glance. Was it a single weather event, a pre-existing vulnerability, or a faulty repair? Answering this question is essential for filing a successful insurance claim and ensuring you get the coverage you deserve. The detailed findings from a forensic inspection provide the hard evidence needed to support your case with your insurer.
Condition assessments
A condition assessment is a comprehensive health check-up for your roof. This type of inspection evaluates the roof’s current state, identifies any necessary repairs, and estimates its remaining functional lifespan. It’s an invaluable tool for property owners who need to plan and budget for future maintenance or an eventual replacement. Instead of being caught off guard by a sudden failure, a condition assessment gives you a clear roadmap of what to expect. This proactive approach helps you manage your property effectively and is a standard part of the services our certified inspectors provide to homeowners, property managers, and real estate professionals.
Annual maintenance inspections
Just like your car, your roof needs regular check-ups to perform its best. Annual maintenance inspections are designed to catch minor issues before they escalate into major, costly problems. A certified inspector will examine your roof yearly to check for wear and tear, clear debris, and ensure everything is in good working order. This simple, proactive step is one of the most effective ways to extend the life of your roof and prevent unexpected leaks or damage. Consistent maintenance not only saves you money in the long run but also provides peace of mind, knowing your property is well-protected year after year.
What does an independent roof inspection cover?
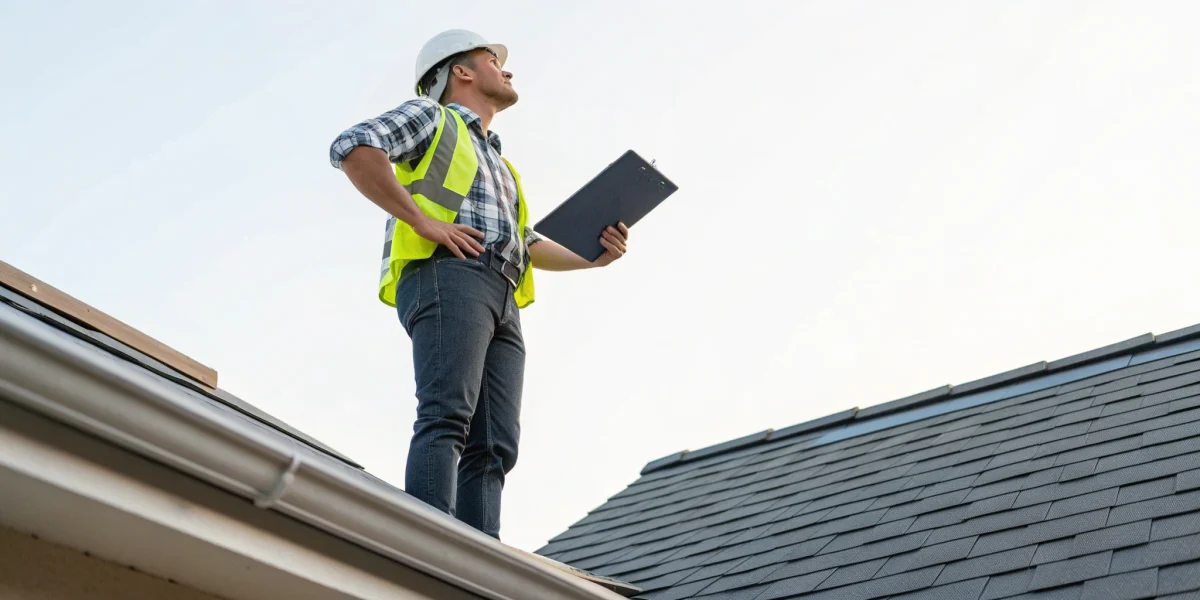
An independent roof inspection is a thorough, top-to-bottom assessment of your entire roofing system. It’s not just a quick glance from the ground; it’s a detailed evaluation designed to give you a complete picture of your roof’s health. A certified professional will examine every component to identify current issues and potential weak spots, providing you with the clear, unbiased information you need for your insurance claim.
The comprehensive roof evaluation process
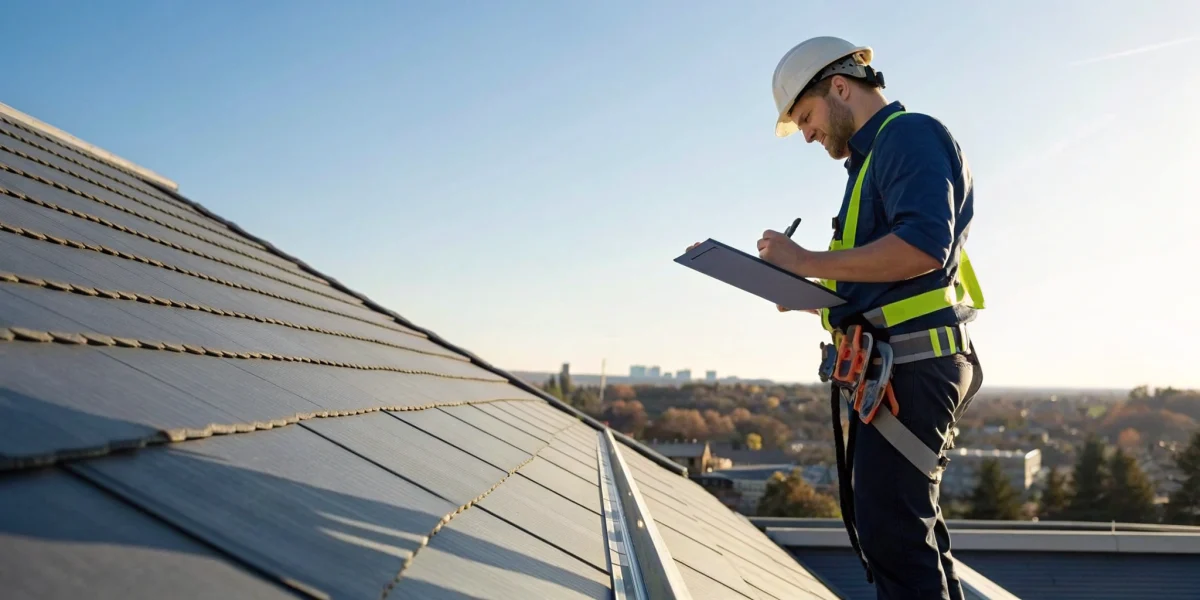
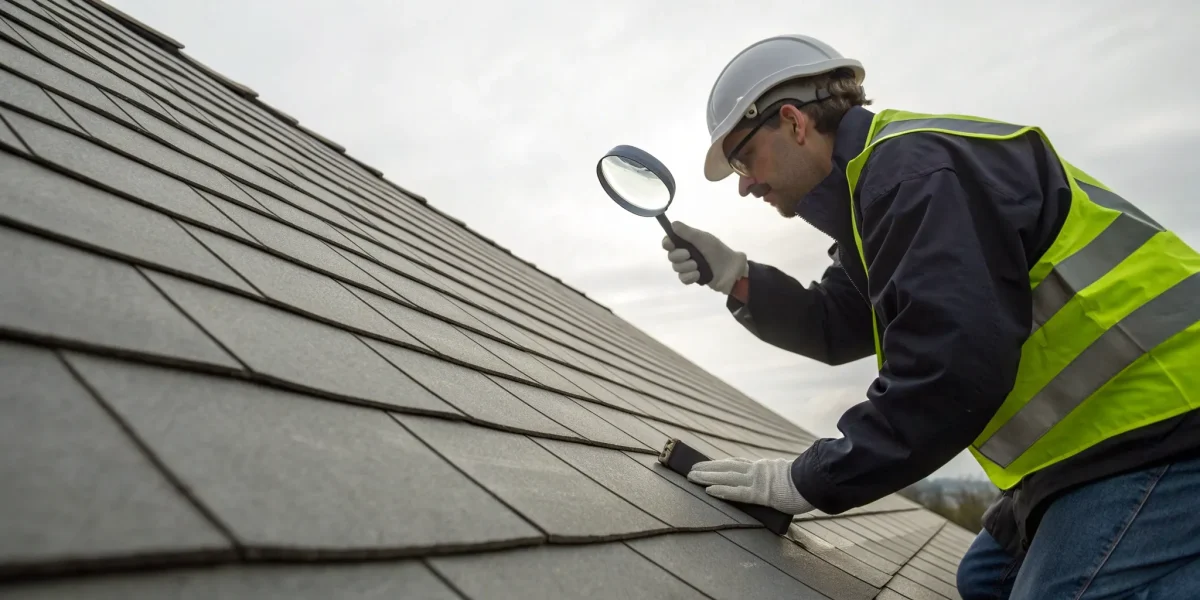
During the evaluation, a certified inspector methodically examines your roof’s exterior and interior. They will visually check for common problems like missing or damaged shingles, cracks in the flashing, and issues with your gutters. But their work goes deeper. An inspector will also assess the underlying structure for signs of sagging or weakness. Because they have completed rigorous training and education, they can spot subtle issues an untrained eye would easily miss. This level of detail is what sets a professional inspection apart and gives you a true understanding of your roof’s condition.
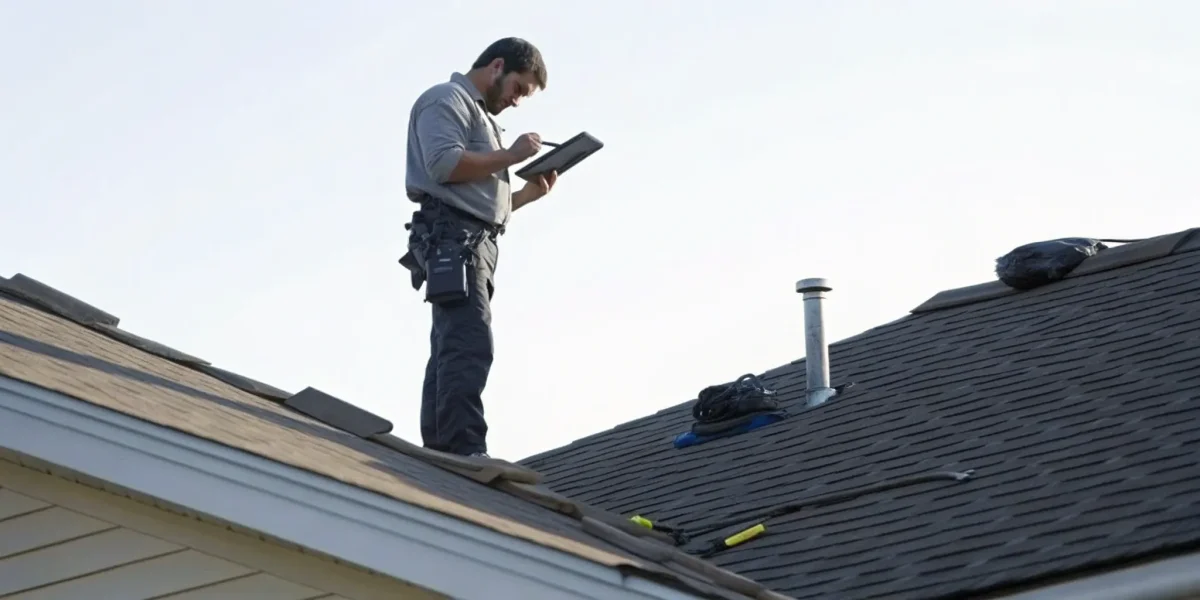
What to expect in your report
After the inspection, you’ll receive a detailed report. This document is the official record of your roof’s condition, outlining all the inspector’s findings with photos and recommendations for any necessary repairs. It’s a comprehensive analysis that provides a clear, factual picture for you and your insurance company. The NRCIA has developed the industry’s only nationally standardized roof inspection report, which is specifically designed to meet the needs of property owners and insurers, making the entire process smoother and more transparent.
Gathering the right evidence for your claim
When filing an insurance claim, your inspector’s report is your most powerful tool. It serves as objective, third-party evidence that documents the extent of the damage and its likely cause. This is crucial for proving that damage is new and related to a specific event, not a pre-existing issue. A thorough report from a trusted inspector gives your claim credibility and provides the insurance company with the clear documentation they need to process it fairly. This helps you build a strong case and get the support needed to restore your LeakFREE® roof.
What are the benefits of an independent roof inspection?
When you’re dealing with roof damage, an independent inspection is one of the smartest investments you can make. It’s not just about getting a second opinion; it’s about arming yourself with credible, unbiased evidence. This professional assessment can completely change the dynamic of your insurance claim, putting you in a much stronger position to get the coverage you deserve without unnecessary delays or disputes.
Receive clear proof of damage
An independent roof inspection for an insurance claim provides you with critical leverage. When a certified inspector assesses your roof, they do more than just a quick look-around. They conduct a thorough evaluation to document every detail of the damage. This process ensures that the report they create gives your insurance company a complete and accurate picture of the roof’s condition. It clearly outlines the extent of the damage and specifies the repairs needed to secure your home, leaving no room for ambiguity. This detailed proof is essential for a straightforward claims process and helps ensure you receive a fair settlement.
Verify new vs. pre-existing damage
One of the biggest hurdles in an insurance claim is proving that the damage is recent and not the result of old, unresolved issues. Insurers are often wary of paying for pre-existing wear and tear. An independent inspector has the expertise to distinguish between new storm damage and older issues like gradual deterioration. Their report will clearly verify that the damage is new, providing the validation your insurance company needs to approve the claim. This step is crucial for preventing your claim from being unfairly reduced or denied based on the roof’s age or previous condition.
Gain leverage when negotiating with insurers
Walking into a negotiation with your insurance company armed with a detailed report from a certified professional gives you significant leverage. Instead of simply accepting the adjuster’s assessment, you have a data-backed, expert opinion to support your claim. This is especially important if the insurer’s initial offer seems too low. The comprehensive documentation from an NRCIA-certified inspector strengthens your position, making it easier to negotiate for the full amount needed to properly repair or replace your roof. It shows the insurer you’ve done your due diligence and are serious about a fair outcome.
Avoid disputes with your insurance company
A clear, professional, and unbiased inspection report can help you sidestep many common disputes with insurance companies. These inspections help insurers understand the risk and handle claims fairly, which in turn helps you avoid unexpected problems. By presenting a comprehensive report from the start, you proactively address potential questions and disagreements about the scope of damage or the cost of repairs. This transparency and documentation can lead to a much smoother and faster claims process, reducing the stress and frustration that often comes with insurance negotiations and getting you closer to a resolution.
How much does an independent roof inspection cost?
When you’re dealing with potential roof damage and an insurance claim, the last thing you want is another unexpected expense. Thinking about the cost of an independent roof inspection is completely normal. The good news is that it’s one of the most valuable and affordable investments you can make to protect your property. The price can vary, but understanding what goes into it can help you see its true worth in safeguarding your home and strengthening your insurance claim.
Understanding the price range
For a standard residential property, you can generally expect an independent roof inspection to cost between $150 and $400. This fee covers a trained professional’s time and expertise to thoroughly examine every aspect of your roof system, from the shingles and flashing down to the underlayment and attic ventilation. After the physical inspection, they’ll compile their findings into a detailed report complete with photos and recommendations. More complex inspections, such as those for large commercial buildings or detailed forensic analysis for a contentious insurance claim, will naturally come with a higher price tag due to the extra time and specialized skills required.
What factors influence the cost?
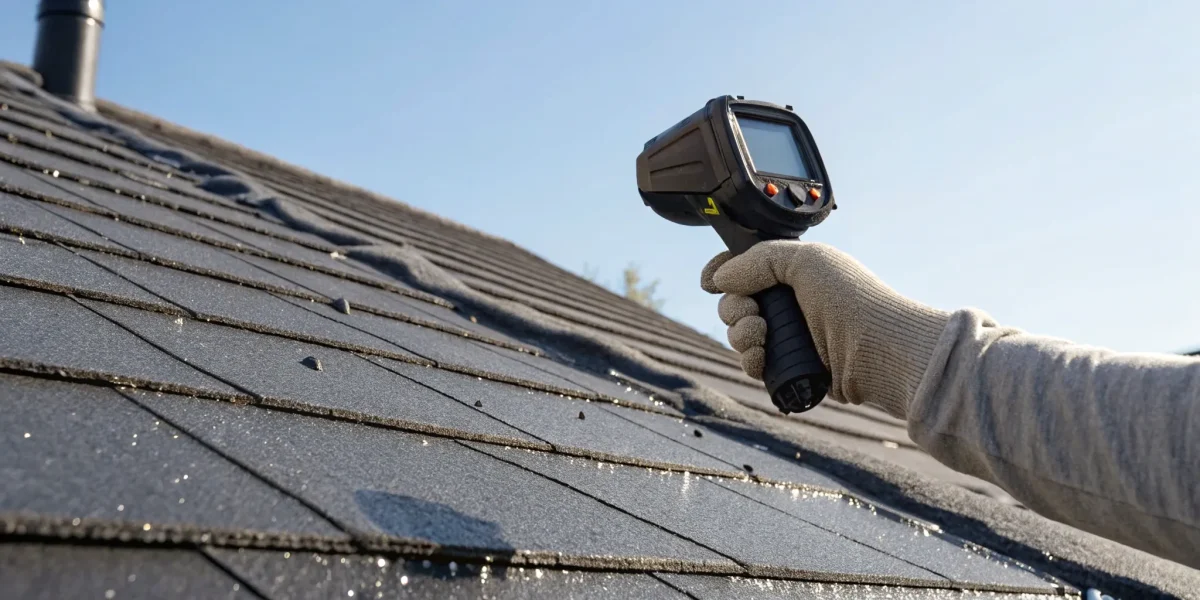
The final price of your inspection isn’t just a flat rate; several factors can influence the quote you receive. Think of it like this: a simple, single-story ranch house will be quicker and easier to inspect than a three-story Victorian with a steep, complex roofline. Key variables include the roof’s size and complexity (more peaks and valleys mean more work), its pitch and accessibility, and the type of roofing material. Some materials, like slate or tile, require a more delicate touch. Your geographic location also plays a role, as does any request for extra services like drone imaging or thermal scans to detect hidden moisture. A certified inspector will always be transparent about what their LeakFREE® roof inspection covers.
Is it a worthwhile investment?
Absolutely. Paying a few hundred dollars for an inspection might feel like just another cost, but it’s a strategic move that can save you thousands in the long run. An independent inspection helps you catch small issues like a few loose shingles or minor flashing damage before they turn into major leaks and costly structural repairs. When it comes to insurance, that unbiased report is your most powerful tool. It provides clear, credible evidence of damage that can prevent a lowball offer or an outright claim denial. By investing in a professional assessment, you’re not just buying a report; you’re buying peace of mind and leverage. It’s a crucial step for the various property stakeholders we work with every day.
What should you look for in an independent roof inspector?
Choosing the right independent inspector is just as crucial as deciding to get an inspection in the first place. Not all inspectors are created equal, and the quality of your report—and its effectiveness with your insurance company—depends entirely on their expertise and credibility. When you’re vetting potential inspectors, you’ll want to focus on three key areas: their certification, their insurance coverage, and their hands-on experience. These qualifications separate the true professionals from the rest and ensure you get an accurate, reliable assessment of your roof’s condition. Taking the time to check these boxes will give you peace of mind and a much stronger foundation for your insurance claim.
The importance of NRCIA certification
When you see that an inspector is NRCIA certified, it means they’ve met a rigorous national standard. Think of it as a seal of approval that confirms they have the skills and knowledge to do the job right. NRCIA members are professionally accredited to inspect and certify your roof, but what truly sets this certification apart is its focus on a standardized and regulated inspection report. This consistency is exactly what property owners and insurance companies need to make clear, informed decisions. An NRCIA-certified inspector provides a report that is objective, thorough, and easy for insurers to understand, which can make a significant difference in the outcome of your claim.
Confirm they have proper insurance and liability coverage
This is a non-negotiable. A professional roof inspector must carry their own insurance, including general liability and errors and omissions (E&O) coverage. This protects you, the property owner, from any potential issues. General liability covers accidental damage to your property during the inspection, while E&O insurance protects against any mistakes or oversights in the assessment itself. Qualified roofing inspector credentials should always include proof of insurance that covers potential accidents or assessment mistakes. If an inspector can’t provide this, it’s a major red flag. Don’t hesitate to ask for a certificate of insurance before they set foot on your property.
Look for experience and specialized training
A great inspector often has a background in roofing or construction, giving them a practical understanding of how roof systems work. However, hands-on experience is only part of the equation. The roofing industry is constantly changing, with new materials, updated building codes, and evolving inspection technologies. Because of this, the best inspectors are committed to ongoing education throughout their careers. This ensures they are up-to-date on the latest standards and can accurately identify issues that others might miss. When you hire an inspector, ask about their background and what they do to stay current in their field.
What are some common myths about independent roof inspections?
When it comes to roof inspections, a few common misconceptions can lead to expensive and stressful situations down the road. Believing these myths can leave you with a denied insurance claim, unexpected repair bills, or a false sense of security about the state of your roof. Let’s clear up some of the confusion so you can make informed decisions to protect your property. Understanding the facts helps you see why a professional, third-party evaluation is one of the smartest investments you can make for your home or building. By separating fact from fiction, you can take proactive steps to maintain your roof’s health and ensure you have the documentation you need when it matters most.
“My new roof doesn’t need an inspection.”
It’s easy to assume a brand-new roof is flawless, but that’s not always the case. Even the best roofing contractors can make mistakes, and issues with materials or installation might not be visible from the ground. An independent inspection right after installation verifies that the work was done correctly and meets industry standards. This step is crucial for catching small problems, like improperly driven nails or poorly sealed flashing, before they lead to leaks and major damage. Think of it as quality control for one of your biggest investments. A LeakFREE® roof certification from the start gives you documented proof of your roof’s condition and peace of mind that it was built to last.
“Insurance will cover all the damage automatically.”
Relying solely on your insurance policy without proper documentation is a risky gamble. Many homeowners are surprised to learn their policy requires them to perform regular maintenance to keep their coverage valid. If you can’t prove you’ve been taking care of your roof, your insurer might deny your claim or offer a much lower payout, arguing that the damage resulted from neglect, not a covered event like a storm. An independent roof inspection provides the unbiased, third-party evidence you need to prove your roof was in good shape before the damage occurred. This documentation strengthens your position and helps ensure you get the full compensation you’re entitled to, making the claims process much smoother.
“I only need an inspection after a big storm.”
While it’s wise to get an inspection after a major weather event, waiting for a storm to check on your roof is a reactive approach that can cost you. Your roof is constantly exposed to the elements, and gradual wear and tear can cause issues that aren’t immediately obvious. Small problems like cracked sealant, clogged gutters, or minor granule loss can worsen over time, leading to leaks and structural damage. Regular, annual maintenance inspections are essential for proactive care. They allow a certified professional to identify and address minor issues before they escalate into costly, complex repairs, ultimately extending the life of your roof and preventing future emergencies.
When is the right time to schedule an independent roof inspection?
Knowing when to call for a roof inspection can feel like a guessing game. Do you wait for a leak to appear? Or do you act only after a major storm? The truth is, timing is everything. Being proactive about your roof’s health can save you from costly repairs and major headaches down the road. An independent inspection provides a clear, unbiased picture of your roof’s condition, which is invaluable in several key situations.
While many people think of inspections as a reaction to damage, they are also a powerful tool for prevention and planning. Whether you’re a homeowner, a property manager, or a real estate professional, understanding the right moments to schedule an inspection is crucial. Let’s walk through the four most important times to have a certified professional take a look at your roof.
Before you file an insurance claim
When you suspect your roof has been damaged by a storm or falling debris, your first instinct might be to call your insurance company. A better first step is to schedule an independent roof inspection. When you file a claim, the inspector you hire becomes your most important advocate. They work for you, not the insurance company, and their job is to provide a detailed, unbiased assessment of the damage.
This independent report gives you a credible baseline of the damage and the necessary repairs. Armed with this professional documentation, you can enter the claims process with confidence, knowing exactly what needs to be fixed and why. It’s the best way to ensure you have the evidence needed to support your claim from the very beginning.
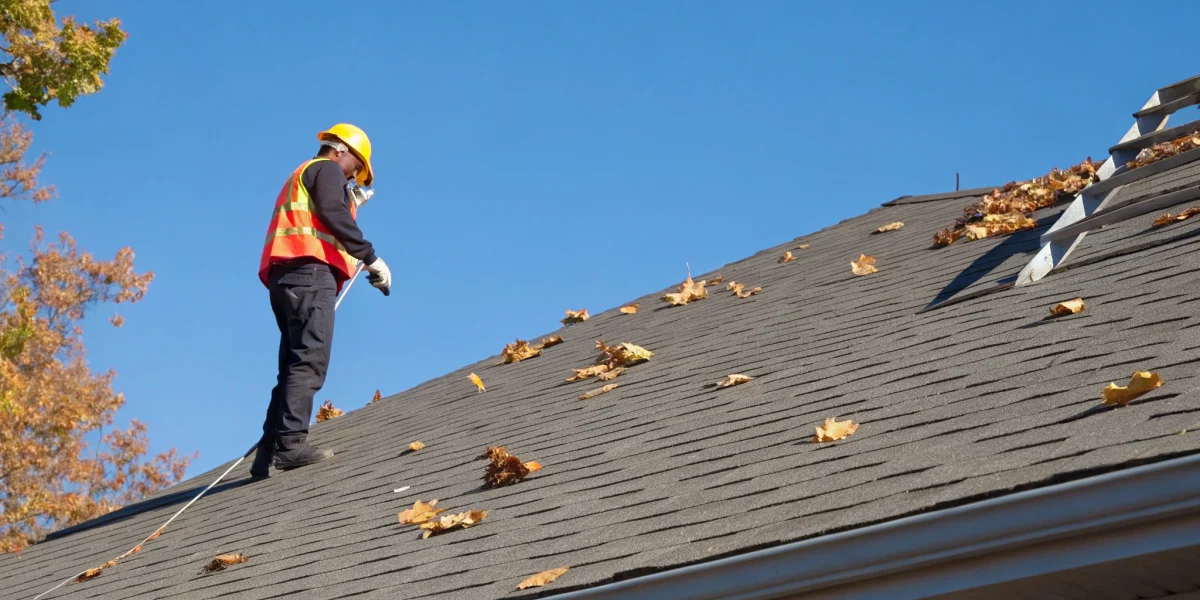
After a severe weather event
Even if you don’t see shingles on the ground or an obvious leak, a severe weather event—like a hailstorm, high winds, or a heavy snowstorm—is the perfect time for an inspection. Many homeowners assume their insurance will simply cover any damage that occurs, but subtle issues like lifted shingles, granule loss, or weakened seals aren’t always visible from the ground.
Left unchecked, these small problems can lead to significant water damage and structural issues over time. An inspector can identify this hidden damage right after it happens, creating a clear record that ties the damage directly to the weather event. This proactive step helps you address issues before they worsen and provides crucial documentation for any future insurance claims.
When you’re buying or selling a property
A roof is one of the most expensive components of a home, so it should always be a top priority during a real estate transaction. If you’re buying a property, you should always get a roof inspection. A general home inspector can spot obvious problems, but a certified roof inspector will conduct a much more thorough evaluation. They can uncover hidden issues that could save you thousands in unexpected repairs and help you negotiate with the seller.
If you’re selling, a pre-listing inspection can make your property more appealing. Providing a clean bill of health or a LeakFREE® roof certification gives potential buyers peace of mind and can help you close the deal faster and with fewer complications.
As part of your regular maintenance plan
Your roof works hard to protect you year-round, and just like any other major system in your home, it requires regular maintenance. Scheduling an annual or bi-annual inspection is one of the smartest things you can do to extend its lifespan and prevent emergencies. Regular inspections help identify potential problems before they escalate into costly repairs.
Think of it as preventative care. A certified inspector can spot and address minor issues like cracked sealant, clogged gutters, or loose flashing before they lead to a major leak. This simple, routine check-up is a small investment that protects the value of your property and ensures your roof remains in top condition for years to come.
How do you find a reputable independent roof inspector?
Finding the right independent inspector is one of the most important steps you can take to protect your property. It’s not just about getting a report; it’s about getting an accurate, unbiased assessment from a true professional. Taking the time to properly vet your options ensures you have a reliable expert on your side, especially when dealing with insurance claims.
How to research and vet your options
When you start your search, prioritize certified professionals. An inspector with a recognized certification has gone through rigorous training and testing to prove their expertise. This isn’t just a nice-to-have; it’s a crucial credential that shows they are equipped to give your roof a thorough and accurate assessment. Many insurance companies prefer, or even require, reports from certified inspectors. Look for inspectors who are members of professional organizations like the NRCIA, as this demonstrates a commitment to industry standards and ongoing education. A certified inspector brings a level of knowledge that gives you confidence in their findings and strengthens your position in any negotiation.
Key questions to ask before you hire
Before you commit to an inspector, it’s smart to ask a few key questions to make sure they’re the right fit. Think of it as a mini-interview to protect your investment. Start by asking, “What certifications do you hold, and are you a member of any professional organizations?” Next, ask for references from previous clients, especially those who needed a similar type of inspection. Finally, get a clear understanding of their process by asking, “What does your inspection involve, and what will the final report include?” A reputable inspector will be transparent about their methods and provide a detailed, easy-to-understand report that documents their findings with photos and clear descriptions.
Warning signs to watch out for
As you vet potential inspectors, keep an eye out for a few red flags. Be cautious of anyone offering a surprisingly low price. While saving money is always nice, an unusually cheap inspection may be a sign of inexperience or a lack of thoroughness. You want an inspector who will take the time to do the job right. Also, avoid any inspector who is hesitant to provide a sample of a written report or won’t take the time to explain their findings to you. Transparency is essential. An inspector’s primary role is to provide an unbiased assessment, so be wary if they immediately start pushing for expensive, unnecessary repairs without a comprehensive evaluation. Their job is to report on the condition of your roof, not to sell you on a new one.
Related Articles
- Roof Inspection by NRCIA Certified Professionals
- Roof Inspection for Insurance Claim: A Guide
- Insurance Claim Inspections – NRCIA
- Hiring a Certified Roof Inspector for Insurance Claims
Frequently Asked Questions
Why can’t I just use the free inspection a roofing contractor offers? While a free inspection from a roofer can seem tempting, it’s important to remember their primary business is selling and installing roofs. Their assessment, however well-intentioned, may be influenced by the goal of securing a repair or replacement job. An independent inspector’s only product is their unbiased, expert opinion. You are paying for their expertise, not for a sales pitch, which ensures the information you receive is based solely on the true condition of your roof.
Will my insurance company accept a report from an independent inspector? Yes, insurance companies regularly work with reports from independent inspectors. In fact, they often prefer them. A report from a certified professional provides clear, objective, and credible documentation of damage, which helps the adjuster understand the full scope of the situation. Because these reports are based on facts and industry standards, they make the claims process more transparent and can lead to a smoother, faster resolution for everyone involved.
I’m not filing an insurance claim. Do I still need an independent inspection? Absolutely. Independent inspections are valuable far beyond insurance claims. If you’re buying a home, an inspection can uncover hidden issues that save you from thousands in future repairs. For current homeowners, an annual inspection is a proactive way to catch small problems before they become major emergencies, extending the life of your roof. It’s a smart tool for anyone who wants to properly maintain their property and protect their investment.
Is an independent inspection a guarantee that my insurance claim will be approved? No inspection can guarantee an approval, as the final decision always rests with your insurance provider and the specifics of your policy. However, an independent inspection provides the strongest possible evidence to support your case. It gives you a detailed, data-backed report from an unbiased expert, which significantly strengthens your position and ensures your claim is evaluated based on facts. This greatly improves your chances of receiving a fair settlement.
How long does a typical roof inspection take? For most residential homes, a thorough inspection usually takes between one and three hours. The exact time depends on the size, complexity, and accessibility of your roof. The inspector will need to examine the exterior surfaces, flashing, gutters, and often the interior attic space to check for signs of leaks or structural issues. After the physical assessment is complete, they will compile their findings into the comprehensive written report you’ll receive.