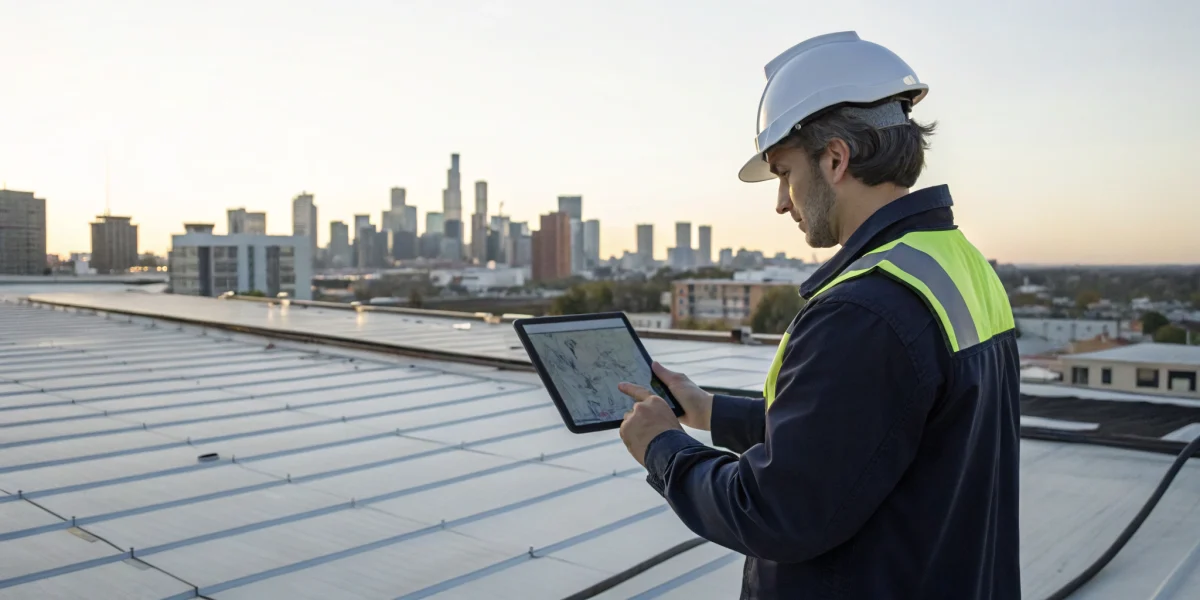
Let’s be honest: your inspection report is often the only tangible thing a client receives from you. It needs to look sharp, be easy to understand, and clearly communicate your findings. A messy, handwritten report or a confusing PDF can undermine your credibility, no matter how thorough your on-site work was. This is where the right software becomes a game-changer. It transforms your data into a polished, professional document that builds trust and helps clients make informed decisions. To achieve this, you need a platform with the right roof inspection software features, from photo integration to customizable templates. Let’s explore the functions that will help you impress every client.
Key Takeaways
- Focus on essential features that streamline your work: Prioritize software with practical tools like offline access, customizable templates, and professional report generation to ensure you can work efficiently and effectively from any job site.
- Use software as a business growth tool: The right platform does more than document inspections; it helps you build client trust with clear visual reports, improve safety with aerial tools, and make smarter decisions with organized data.
- Make a strategic choice by planning for the long term: Select your software by considering the total cost, confirming it integrates with your other business systems, and creating a solid plan for team training to ensure a smooth and successful adoption.
What Features Should Your Roof Inspection Software Have?
Choosing the right roof inspection software can feel like a big decision, and honestly, it is. The right tool can completely streamline your workflow, while the wrong one can just add another layer of frustration. Think of it as the digital equivalent of your most trusted tool—it needs to be reliable, versatile, and designed for the job at hand. The best software doesn’t just digitize your old paper forms; it creates a more efficient, accurate, and professional process from start to finish.
As you explore your options, you’ll find that many platforms offer a dizzying array of features. To cut through the noise, it’s helpful to focus on the core functions that will make a real difference in your day-to-day operations. From working in remote areas without an internet connection to generating polished reports that impress clients, certain features are simply non-negotiable. The goal is to find a system, like the NRCIA’s inspection software, that supports your expertise and helps you deliver top-notch service every time. Let’s walk through the essential features you should be looking for.
Work Offline and Sync Data
Let’s be real: you’re not always going to have a perfect Wi-Fi signal when you’re on a roof or inspecting a property in a remote area. That’s why offline capability is a must-have. The last thing you want is to lose your work or have to jot down notes on paper to re-enter later. Quality inspection software allows you to complete your entire inspection and fill out your checklists without an internet connection.
Once you’re back online, the app should automatically sync all the data you collected—photos, notes, and checklist items—to the cloud. This feature saves an incredible amount of time by eliminating the need for double data entry or extra trips back to the site. It keeps your workflow smooth and ensures no critical information gets lost in the shuffle.
Customize Your Checklists and Templates
Every roof is different, and your inspection process should reflect that. A one-size-fits-all checklist just doesn’t cut it when you’re dealing with various materials, structures, and client needs. Your software should give you the power to create and customize your own inspection templates and checklists. Whether you’re performing a standard residential inspection, a detailed commercial assessment, or a specialized check for California SB 721 compliance, you need the flexibility to tailor your forms.
This level of customization ensures you can capture the right information for every unique job. It allows you to maintain your high standards and specific procedures while still benefiting from the efficiency of a digital platform. It’s all about making the software work for you, not the other way around.
Generate Professional Reports
The inspection report is often the only tangible thing your client receives from you, so it needs to look sharp and be easy to understand. The best inspection software automates this process, taking all the data, photos, and notes you collected and instantly compiling them into a professional, branded report. This feature alone can save you hours of administrative work.
Look for software that allows you to include your company logo and contact information. The final report should clearly outline your findings, highlight any problems discovered, and provide recommended actions. A clean, comprehensive report not only communicates your findings effectively but also reinforces your credibility and professionalism, leaving a lasting positive impression on your clients.
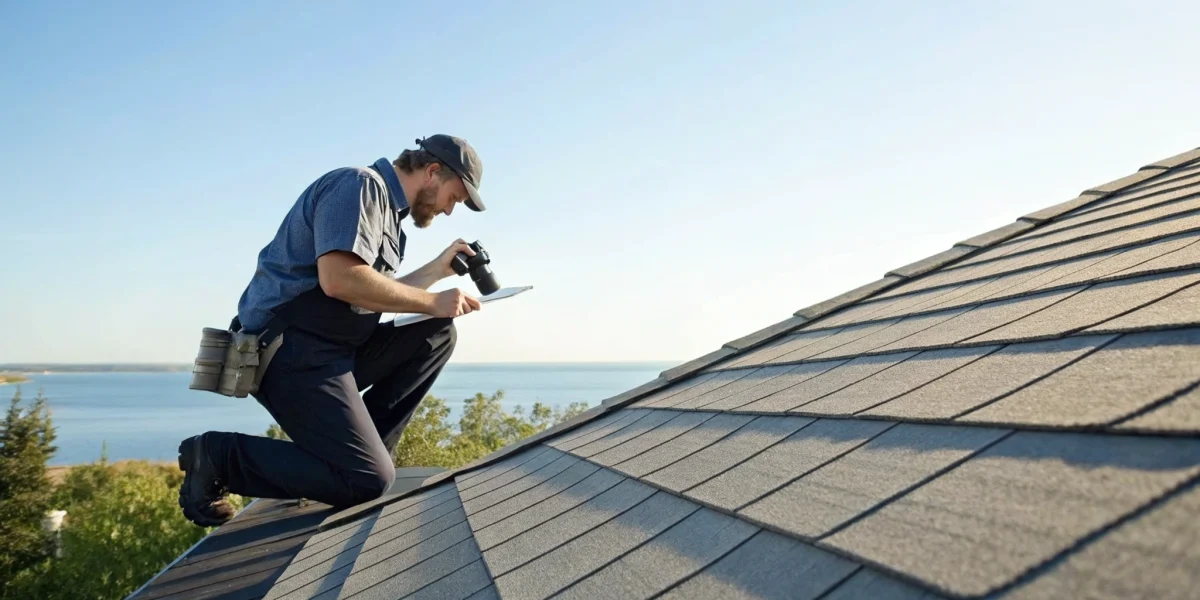
Integrate Photos and Videos
A picture is worth a thousand words, especially when it comes to roof inspections. Being able to show a client a clear photo of a cracked tile or a video of a potential leak source is far more impactful than just describing it. That’s why seamless photo and video integration is a critical feature. Your software should let you capture media directly from your device and embed it into your report.
The ability to add notes or draw on photos to pinpoint specific areas of concern is another huge plus. This visual evidence helps clients understand the urgency of repairs and provides clear documentation for your records. It also facilitates better communication within your team, as everyone can see exactly what the inspector saw on-site.
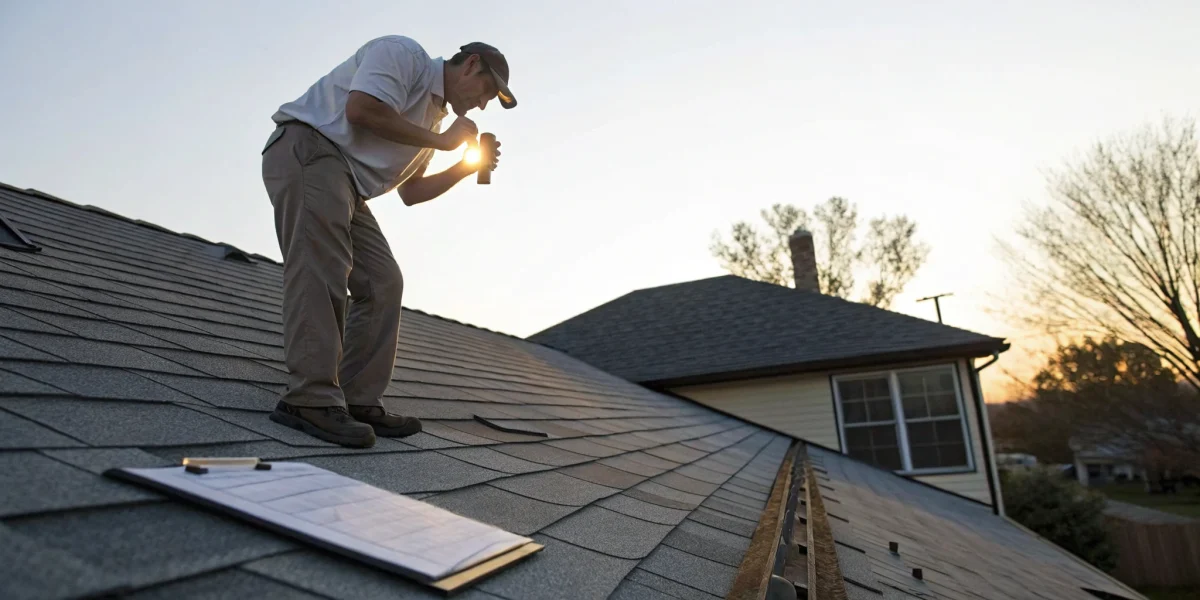
Use Aerial and Drone Measurements
Technology has made it possible to get a bird’s-eye view of a roof without ever leaving the ground. Software that integrates with aerial imagery and drone technology can be a game-changer for both safety and accuracy. Using high-resolution aerial photos, you can get precise measurements and conduct a preliminary assessment before even setting foot on the property.
This feature allows you to identify potential hazards and problem areas from a safe distance, reducing time spent on steep or dangerous roofs. It also provides a comprehensive overview that can be difficult to achieve from the rooftop alone. By leveraging these tools, you can enhance the accuracy of your inspections and quotes while prioritizing the safety of your team.
Collaborate With Your Team in Real-Time
Roofing is rarely a one-person show. From the inspector in the field to the project manager in the office, clear communication is key to a successful project. Look for software that offers real-time collaboration features, allowing your team to share information instantly. An inspector can upload their findings, and the office staff can immediately access the report to prepare a quote or schedule follow-up work.
This seamless flow of information prevents delays and reduces the chance of miscommunication. It helps everyone stay on the same page, from customer details to project status. When your team can work together efficiently, you can provide faster, more organized service to your clients.
How the Right Software Improves Your Inspection Process
Switching from a clipboard and camera to dedicated roof inspection software is more than just a simple upgrade—it’s a fundamental shift in how you run your business. The right platform touches every part of your process, from the moment you schedule a job to the final report you hand over to a client. Roof inspection software helps roofing companies do better inspections and close more sales. By using technology to your advantage, you can make your inspections faster, safer, and more accurate than with traditional methods. This digital approach not only streamlines your internal operations but also presents a more polished and professional image to homeowners, real estate agents, and insurance companies.
Create a More Efficient Workflow
A streamlined workflow is the foundation of a profitable business. Roof inspection software replaces cumbersome paperwork with a single, centralized system where you can manage everything from scheduling and dispatching to data collection and report generation. Instead of juggling notes, photos, and client information across different places, everything is organized and accessible from one dashboard. This means less time spent on administrative tasks and more time focused on the actual inspection. With a tool like the NRCIA inspection software, you can standardize your process, ensuring every inspection is just as thorough as the last and that no detail gets missed.
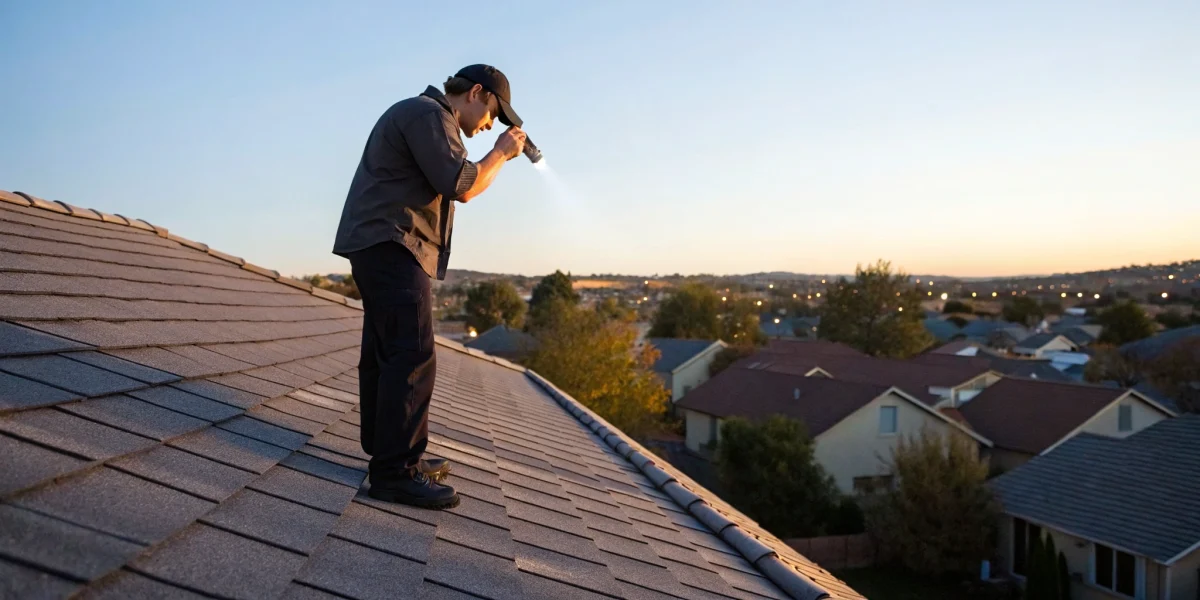
Increase Accuracy and On-the-Job Safety
Your safety and the accuracy of your findings are top priorities. Modern inspection software often integrates with drone and aerial imaging technology, allowing you to get detailed, high-resolution views of a roof without ever having to climb on it. This technology helps you spot subtle issues like hail damage, cracked shingles, or failing seals with incredible precision. By reducing the time spent on potentially dangerous roofs, you minimize risk for yourself and your team. This focus on precision is what allows you to confidently identify problems and recommend solutions that lead to truly protected, LeakFREE® roofs.
Improve Client Communication with Visuals
Explaining complex roofing issues to a client can be challenging. Software makes it simple by helping you create clear, visual reports that build trust and understanding. Instead of just describing a problem, you can show your client a high-quality photo or video with annotations pointing out the exact area of concern. This visual evidence makes your recommendations transparent and helps the property owner see the value in the proposed work. For real estate professionals and homeowners alike, a professional, easy-to-understand report can make all the difference in their decision-making process.
Manage Your Data and Analytics Better
Every inspection you complete contains valuable data. The right software helps you capture, store, and analyze this information effectively. Digital apps make your inspections more organized and professional, creating a searchable history of every job. You can track common issues in your area, review past inspections for a specific property, and identify trends that can inform your business strategy. This data-driven approach helps you work smarter, not harder. By investing in your skills through a comprehensive training portfolio, you can learn to use these analytics to grow your business and better serve your clients.
How to Choose the Right Inspection Software
Selecting the right software is more than just a technical upgrade; it’s a strategic business decision. The ideal platform should not only streamline your current processes but also scale with you as your business grows. With so many options available, it can be tough to know where to start. To make the right choice, you need to look beyond the flashy features and focus on the core functionalities that will truly support your team, improve your accuracy, and deliver value to your clients. By carefully considering a few key areas—from budget and integrations to mobile access and team training—you can find a solution that fits your business like a glove.
Compare Pricing and Your Budget
The best software for your business is one that delivers the features you need at a price you can afford. Start by outlining your must-have functionalities and then compare pricing options to find a tool that fits your budget. Some platforms offer tiered subscription models, while others may have a one-time licensing fee. Be sure to ask about any additional costs for setup, training, or extra users. The goal is to find a balance between capability and cost-effectiveness. Remember, the most expensive option isn’t always the best fit, especially if you end up paying for features you’ll never use. Your inspection software should be a tool that provides a clear return on your investment.
Check for Key Integrations
Your inspection software doesn’t operate in a vacuum. To create a truly efficient workflow, it needs to communicate with the other tools you use every day. Look for software that can link up with your existing programs for customer relationship management (CRM), accounting, and project management. This integration capability can streamline your entire operation, from initial lead capture to final invoicing, by eliminating redundant data entry and reducing the chance of human error. When your systems work together seamlessly, you save time, reduce administrative headaches, and can focus more on what you do best: providing expert roof inspections.
Confirm Device and Mobile Access
As a roof inspector, your office is often on-site. That’s why powerful mobile access is non-negotiable. Your team needs an app that lets them manage their work from anywhere—capturing photos, filling out checklists, and generating reports right from the job site. Before committing to a platform, confirm that it works flawlessly on the devices your team uses, whether they’re on iOS or Android. It’s also wise to check for offline capabilities. A great app will allow your inspectors to complete their work without an internet connection and then automatically sync the data once they’re back online. This ensures productivity is never stalled by a weak signal.
Plan for Team Training and Adoption
The most advanced software in the world is only effective if your team knows how to use it. A smooth transition depends on proper training and support. When evaluating options, ask what kind of onboarding process the provider offers. Many companies provide a dedicated account manager to help you get set up and learn the software. Look for comprehensive training resources like video tutorials, knowledge bases, and live support. Involving your team in the selection process can also improve adoption rates, as they can offer valuable feedback on which platform feels the most intuitive and user-friendly for their day-to-day tasks.
Meet Compliance and Safety Requirements
Your inspection software should help you uphold the highest standards of professionalism and safety. The platform you choose must be able to generate clean, professional reports that you can brand with your company logo and easily share with clients. These reports are a direct reflection of your work and are critical for clear communication. Furthermore, the software should support your ability to meet industry regulations and safety protocols. For specialized work, like California SB 721 inspections, having software that guides you through specific compliance checklists is essential for protecting your business and serving your clients effectively.
Top Roof Inspection Software to Consider
With so many options available, finding the right roof inspection software can feel like a big task. The best choice for your business depends on your specific needs, team size, and the types of services you offer. Are you an independent inspector focused on certification, or a large contracting firm managing projects from lead to final invoice? Each platform offers a unique set of features designed to solve different problems. Some excel at creating detailed, professional reports, while others provide a complete, all-in-one system for managing your entire business. This guide breaks down some of the top contenders to help you find a tool that fits your workflow, improves your efficiency, and helps you deliver exceptional service to your clients.
NRCIA Inspection Software
If your goal is to perform inspections that meet the highest industry benchmarks, the NRCIA’s own inspection software is the clear choice. Designed specifically for our rigorous standards, this tool guides you through the exact process required to issue a LeakFREE® Roof Certification. It’s not just a generic checklist app; it’s a specialized platform built to ensure every detail is documented correctly and consistently. For professionals committed to providing the most reliable and thorough roof inspections, this software ensures your work aligns with the trusted NRCIA methodology, giving both you and your clients complete peace of mind.
Jobba
Jobba is designed to make the on-site inspection process as smooth as possible for roofing contractors. Its software uses a step-by-step guide to help you gather all the necessary information, ensuring nothing gets missed. One of its standout features is an offline mode, which is perfect for when you’re on a roof with spotty internet access. Jobba excels at turning your field data into professional inspection reports and accurate quotes, helping you present your findings clearly to customers and close deals faster. It’s a practical tool for teams that want to streamline their workflow from initial inspection to final proposal.
Leap
Leap stands out as a powerful roofing CRM that places a strong emphasis on integrations. If your team already uses and loves tools like CompanyCam for photo documentation or EagleView for aerial measurements, Leap can tie them all together. This platform is built to serve as the central hub for your customer relationships and sales process. By connecting with best-in-class imaging and measurement technology, Leap helps you create highly detailed and visually compelling proposals that can set your business apart from the competition. It’s an excellent option for companies looking to build a seamless, integrated tech stack.
JobNimbus
JobNimbus positions itself as the all-in-one software solution for roofing companies, and for good reason. It goes far beyond inspections to cover nearly every aspect of your business operations. With JobNimbus, you can manage leads, track sales, oversee projects, and streamline your billing—all from one platform. Its mobile app ensures your team can stay connected and productive whether they’re in the office or out in the field. For business owners who want a single system to manage their entire workflow and improve communication across the board, JobNimbus offers a comprehensive and robust solution.
Roofr
Roofr is another all-in-one platform designed to help roofing businesses manage their entire operation from a single dashboard. Its main appeal is simplification. Instead of juggling multiple apps for measurements, proposals, and project management, Roofr brings all those functions together. This helps reduce wasted time and eliminates the hassle of trying to make different software systems work with each other. For businesses looking to consolidate their tools and create a more efficient, unified process from generating new leads to collecting final payment, Roofr provides a clean and integrated solution.
What Are the Common Implementation Challenges?
Switching to a new software platform is a big step, and it’s smart to go in with your eyes open. While the right tool can transform your business, the transition period can have its bumps. Anticipating these common challenges is the first step to creating a smooth rollout for your team and ensuring you get the most out of your investment from day one. By planning ahead for these potential hurdles, you can build a strategy to address them before they slow you down.
Getting Your Team On Board
One of the biggest hurdles isn’t technical—it’s human. Your team is likely accustomed to their current methods, whether that involves paper forms or a different digital tool. Resistance to change is natural, especially when new technology feels intimidating. The key is to communicate the “why” behind the switch. Show your inspectors how the new software will make their jobs easier, safer, and more efficient. Involve them in the selection process and provide thorough training. When your team understands the benefits and feels supported, you can encourage technology adoption instead of forcing it.
Integrating With Your Current Tools
Your inspection software doesn’t operate in a vacuum. It needs to work seamlessly with the other tools you rely on, like your CRM, accounting software, or scheduling apps. When systems don’t communicate, you end up with data silos, manual double-entry, and frustrating inefficiencies. Before committing to a platform, ask specific questions about its integration capabilities. Does it have pre-built connections with the software you already use? Does it offer a flexible API (Application Programming Interface) that allows for custom connections? Smooth integration is critical for creating a single, streamlined workflow.
Managing Data and Ensuring Accuracy
Shifting to a new system means moving your data, and maintaining its accuracy is essential. Your inspection reports, client information, and historical data are valuable assets. The challenge lies in ensuring all information is transferred correctly and that your team follows consistent procedures for entering new data. A great software solution will have features to standardize this process, like customizable templates and required fields. However, it still requires a clear plan for data management and team-wide commitment to keeping records clean and reliable from the start.
Evaluating the Cost vs. Return
Finally, there’s the financial consideration. The price of new software isn’t just the monthly subscription fee. You also need to account for the cost of implementation, training time, and any potential dip in productivity as your team adjusts. It’s important to weigh these initial costs against the long-term return on investment (ROI). Think about the value of time saved through efficiency, the new business won from more professional reports, and the long-term benefits of better data analytics. A thorough cost-benefit analysis will help you see the software as a strategic investment rather than just an expense.
Understanding the Cost of Inspection Software
When you’re evaluating roof inspection software, the price tag is just one piece of the puzzle. The true cost includes everything from initial setup and training to long-term support and reliability. A cheaper option might seem appealing at first, but if it’s clunky or lacks support, it could cost you more in lost time and frustrated clients down the road. To make a smart investment, you need to look beyond the monthly fee and understand the full value you’re getting. Let’s break down the key cost factors to consider.
Subscription vs. One-Time Purchase
Most inspection software falls into two pricing models: a recurring subscription or a one-time purchase. Subscriptions, often billed monthly or annually, are common because they typically include ongoing updates, customer support, and cloud storage. This model is great for managing cash flow and ensures you always have the latest features. On the other hand, a one-time purchase involves a larger upfront cost for a perpetual license. While it can feel like you “own” the software, be sure to check if future updates or technical support come with an additional fee. The best choice depends on your business’s financial planning and how you prefer to manage software assets.
Free Trials and Feature Tiers
You wouldn’t buy a car without a test drive, and the same logic applies to your business software. Always look for a free trial to see how the platform works in a real-world setting. This is your chance to assess its user interface, test key features, and make sure it fits your team’s workflow before you commit. Many companies also structure their pricing in tiers—like Basic, Pro, or Enterprise—offering different sets of features at different price points. This allows you to pay only for what you need right now, with the option to scale up as your business grows. Before you sign up, map out your essential features to find a plan that aligns with your operational needs and budget.
Performance and Reliability
The cost of unreliable software goes far beyond its subscription fee. A platform that crashes mid-inspection, loses your data, or runs slowly can damage your efficiency and professional reputation. The right software should make your inspections faster, safer, and more accurate, not create new headaches. When evaluating options, look for a proven track record of performance. Read user reviews, ask about uptime guarantees, and see how the app performs during your free trial. Investing in a dependable tool like the NRCIA inspection software ensures your team can work confidently and efficiently, which directly impacts your ability to deliver high-quality service to your clients.
Customer Support and Training Resources
When you’re on-site and run into a technical issue, you need access to fast and effective help. That’s why customer support is a critical factor in the overall value of your software. Before committing, find out what kind of support is offered—is it limited to email, or can you get someone on the phone or via live chat? Also, consider the available training resources. A comprehensive library of tutorials, webinars, and guides can significantly shorten the learning curve for your team. Strong support and robust training materials ensure you can resolve issues quickly and get the most out of your investment from day one.
Related Articles
- 7 Best Roof Inspection Report Apps for 2025
- Top 6 Roof Inspection Checklist Apps to Download
- Top 6 Commercial Roof Inspection Apps of 2026
Frequently Asked Questions
I’m a solo inspector. Is investing in this kind of software really worth it for a one-person business? Absolutely. Think of it less as an expense and more as your most reliable employee. The time you save on generating reports and organizing photos is time you can spend on marketing or taking on more jobs. It also helps you present a highly professional image that allows you to compete with larger companies, building client trust from the very first interaction.
My team is used to doing things the old way. What’s the best way to get them on board with new software? The key is to focus on how it makes their job easier, not just different. Frame it as a tool that gets them off the roof faster and eliminates the headache of after-hours paperwork. Involve them in the selection process by letting them test a few options during a free trial. When they see firsthand that they can finish a report on-site instead of taking work home, they’ll be much more open to making the switch.
With so many features available, which one should I prioritize if my budget is tight? If you have to choose, focus on the features that most directly impact your client’s experience and your final product. Professional report generation and seamless photo integration are the two most critical. A clean, easy-to-read report with clear visual evidence is your best sales tool. It builds credibility and helps clients understand the value of your findings, making it the best place to invest your money first.
How is the NRCIA’s software different from an all-in-one business management tool like JobNimbus or Roofr? Think of it as the difference between a specialized tool and a general toolkit. All-in-one platforms are designed to manage your entire business, from sales to invoicing. The NRCIA software is purpose-built for one thing: executing a perfect, standardized inspection that meets the industry’s highest benchmarks for a LeakFREE® Certification. It’s for the professional who wants to master the inspection process itself, ensuring unmatched thoroughness and consistency.
Can this software really make my inspections safer? Yes, it can significantly reduce on-the-job risk. Features that integrate with aerial and drone measurements allow you to conduct a detailed preliminary assessment from the ground. You can get precise measurements, identify potential hazards, and spot problem areas on steep or structurally questionable roofs without ever setting foot on them. This allows you to plan your physical inspection more safely and minimize time spent in high-risk situations.
![Roof Damage Inspection Report Template [Free Download]](https://www.nrcia.org/wp-content/uploads/2026/01/roof-damage-inspection-report-template-free-download-210407-1200x600.png)