Anyone can climb a ladder and point out a missing shingle. But a true professional can tell you why that shingle failed, what hidden damage it might be concealing, and how to prevent it from happening again. That’s the difference expertise makes, and it’s a difference that clients are willing to pay for. This level of insight is built through dedicated learning and hands-on practice. Quality roof inspection training provides the technical knowledge and systematic process needed to evaluate any roofing system with confidence. It’s what separates a guess from an assessment and turns a job into a respected profession.
Key Takeaways
- Training is your professional foundation: It teaches you to go beyond spotting obvious damage and truly understand how to protect a property’s value, making you an essential partner for homeowners and real estate agents.
- A quality program covers all the bases: You will learn the technical side of inspecting various roof types, mastering safety procedures, and the professional skills needed to write clear, detailed reports for your clients.
- Certification is your seal of approval: It validates your training, builds immediate trust with clients, and sets you apart as a credible, sought-after expert in the inspection industry.
Roof Inspection Training: What It Is and Why It Matters
Roof inspection training is your path to becoming an expert in a building’s most critical line of defense. It’s a specialized education that teaches you how to systematically evaluate the condition of a roof, identify existing problems, and spot potential weaknesses before they turn into catastrophic failures. This goes far beyond a quick look from the ground; it involves understanding the complexities of different roofing systems, materials, and installation techniques.
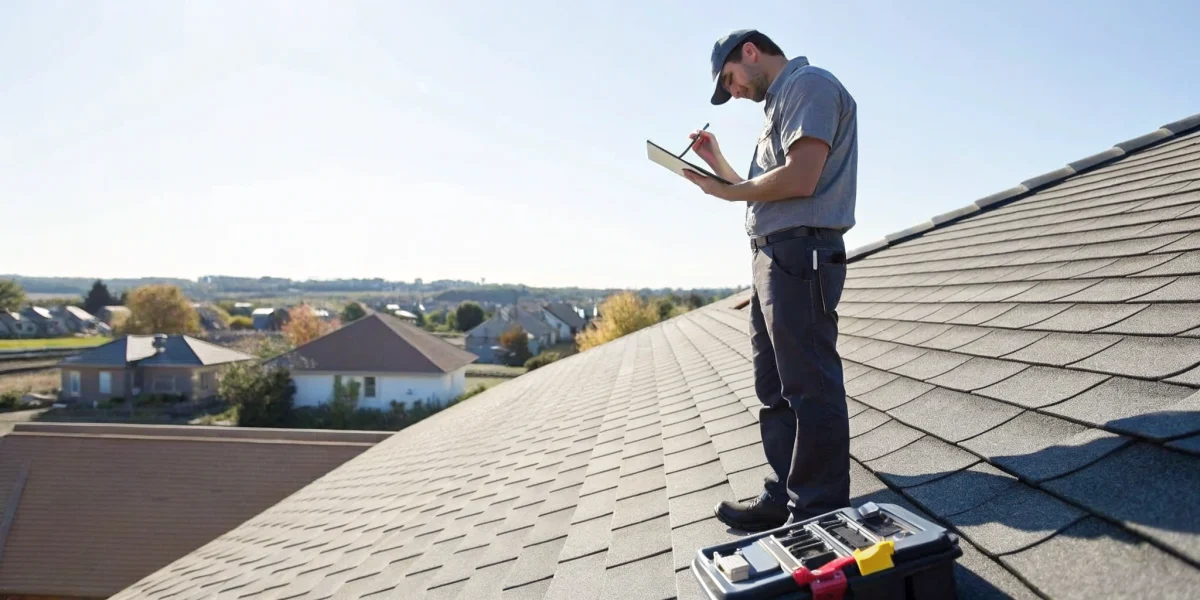
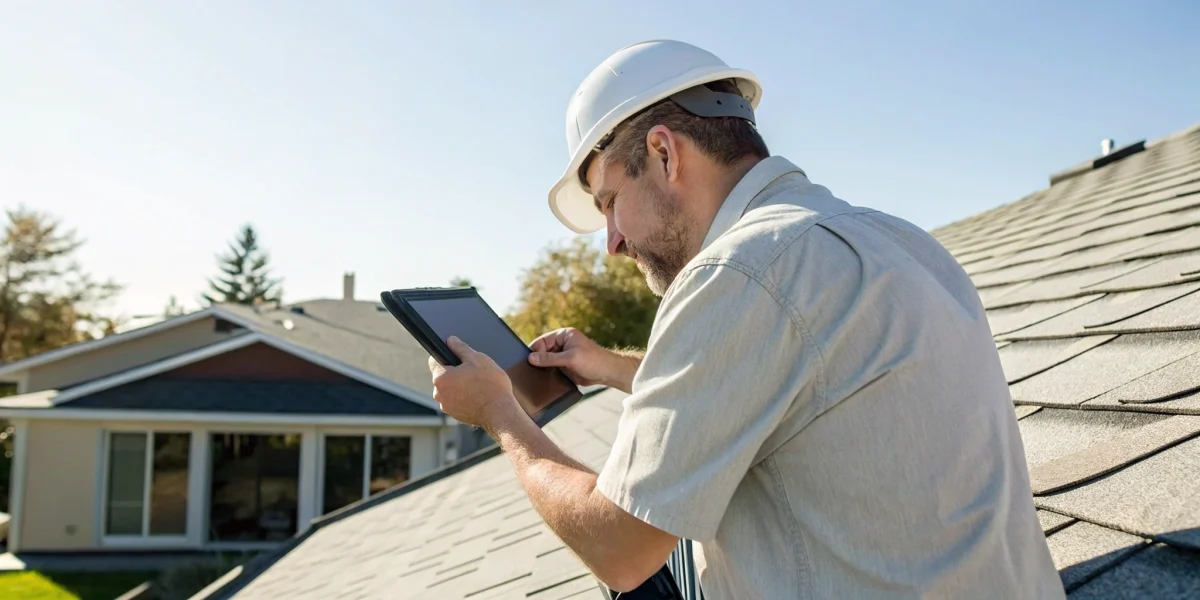
Think of it this way: anyone can spot a missing shingle, but a trained inspector knows what caused it to fail and what other hidden issues that failure might point to. The goal of this training is to equip you with the technical knowledge and practical skills to produce a detailed, accurate assessment that homeowners, buyers, and real estate professionals can trust. You learn to document your findings professionally using tools like specialized inspection software, providing clear, actionable information that helps people protect their most valuable asset. It’s a career built on expertise, and it all starts with a solid educational foundation.
Why Certified Roof Inspectors Are in High Demand
Roof inspectors are essential for making sure roofs on homes and buildings are safe and strong, which is why there is such a high demand for certified professionals. Every property transaction, insurance claim, and major maintenance decision relies on an accurate understanding of the roof’s condition. Homebuyers need to know what they’re getting into, sellers want to ensure a smooth transaction, and insurance companies need to verify the integrity of the properties they cover. A certified inspector provides the unbiased, expert evaluation that all these parties depend on. This demand creates a stable and rewarding career path for anyone willing to get the right training and education.
Protect Property Investments with Proper Training
A home is often the biggest investment a person will ever make, and a solid roof is what keeps that investment safe. Proper training teaches you how to be the expert who protects that value. A certified roof inspection gives buyers confidence, helps sellers avoid last-minute repairs, and can even increase a home’s market appeal. As an inspector, you’ll learn to spot the subtle signs of wear and tear that could lead to thousands of dollars in damage down the road. This insight empowers your clients to make informed decisions, whether they’re negotiating a purchase price or planning for future maintenance. By providing a thorough assessment, you help property stakeholders avoid costly surprises and preserve the long-term value of their property.
Common Myths About Roof Inspection Requirements
Many property owners operate under common misconceptions about when an inspection is needed, and your training will give you the expertise to set the record straight. One major myth is that a new roof doesn’t need an inspection. In reality, even the best materials can fail if installed incorrectly. An inspection right after installation confirms the work was done to standard and helps protect the owner’s warranty. Another myth is that you only need an inspection after a storm. While post-storm checks are crucial, annual inspections are key for proactive maintenance. They can uncover minor issues, like small leaks or damaged shingles, before they escalate into costly problems, saving the homeowner money and stress in the long run.
What Do You Need to Start Your Training?
Thinking about becoming a certified roof inspector? It’s a fantastic career path that combines technical skill with problem-solving, but it’s not something you can jump into without some preparation. Before you sign up for a training program, it’s helpful to know what experience, skills, and resources you’ll need to succeed. Having a clear picture of the requirements will help you start your training with confidence and set you up for a successful career protecting property investments. Let’s walk through the key things you’ll need to get started.
Your Background: Education and Experience
You don’t need a four-year degree to become a great roof inspector, but a solid background in roofing or construction is a major advantage. If you’ve spent time on a roof, you already have a practical understanding of how roofing systems are put together. This hands-on experience is invaluable. Beyond technical know-how, strong communication skills are essential. You’ll be talking with a wide range of clients, from anxious homeowners to seasoned real estate professionals, and you need to explain your findings clearly and professionally. A friendly demeanor and the ability to build trust will take you far in this industry.
The Physical and Technical Skills You’ll Need
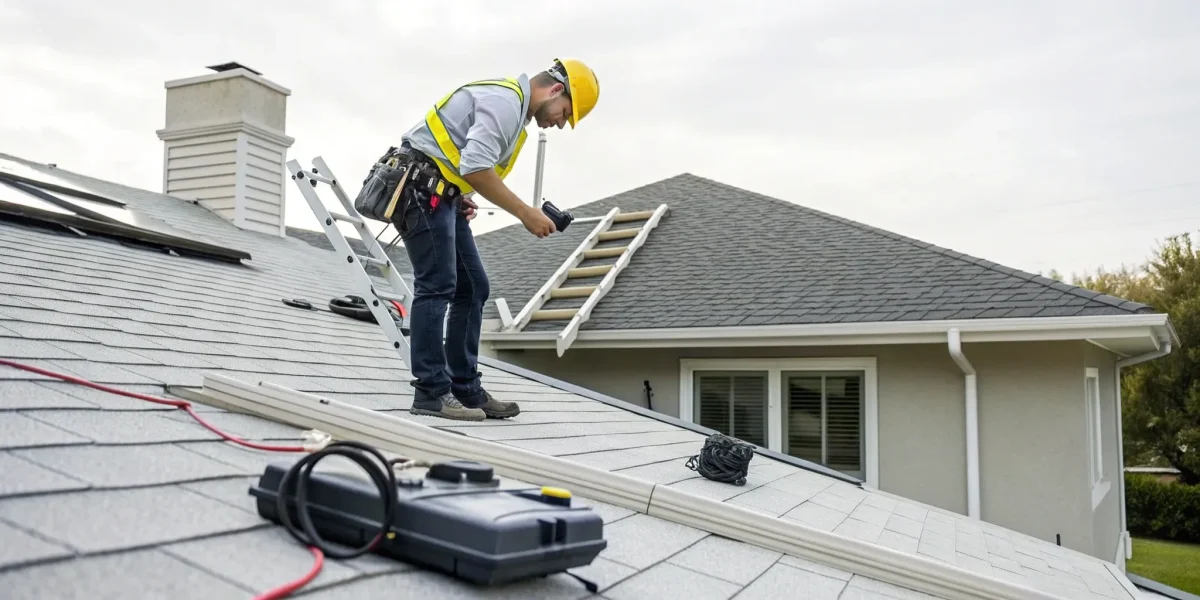
A successful career as a roof inspector depends on more than just your background. You need a sharp eye for detail to spot issues that others might miss, from minor leaks to significant structural problems. This job is also physically demanding. You must be comfortable with heights, steady on your feet, and able to work safely on various roof pitches and surfaces. The official roof inspector job description often highlights the need for both physical fitness and strong analytical skills. You’ll be combining your hands-on inspection with your knowledge of materials and building codes to create a complete picture of a roof’s condition.
Understanding the Costs and How to Pay for Training
Investing in your education is the first step toward a new career, and it’s important to plan for the costs. Your primary expenses will be for training courses, certification exams, and essential tools like a good ladder, safety gear, and inspection software. Think of these costs not as an expense, but as an investment in your future. A quality certification makes you a trusted professional whose services are in high demand. When you’re researching programs, look at the complete training portfolio to see what’s included. Some organizations may offer payment plans or bundles that can make the initial investment more manageable.
What Will You Learn in Roof Inspection Training?
Stepping into the world of roof inspection is about becoming a trusted expert who can identify potential issues before they become major problems. A quality training program gives you the skills and confidence to do just that. You’ll move beyond a basic understanding of roofs and learn the science behind how they function, what causes them to fail, and how to accurately assess their condition.
Comprehensive training covers the full spectrum of the job. You’ll learn the technical side, like how to identify subtle signs of hail damage on different materials, and the practical side, like how to walk a steep roof safely. It also prepares you for the business aspects of the role, such as communicating your findings clearly to homeowners or real estate agents and creating professional reports that document every detail. The goal is to equip you with a repeatable, thorough process you can apply to any roof, anywhere. This foundation of knowledge is what separates a certified professional from someone just walking on shingles. It’s what allows you to provide real value and peace of mind to your clients.
How to Inspect Different Types of Roofs
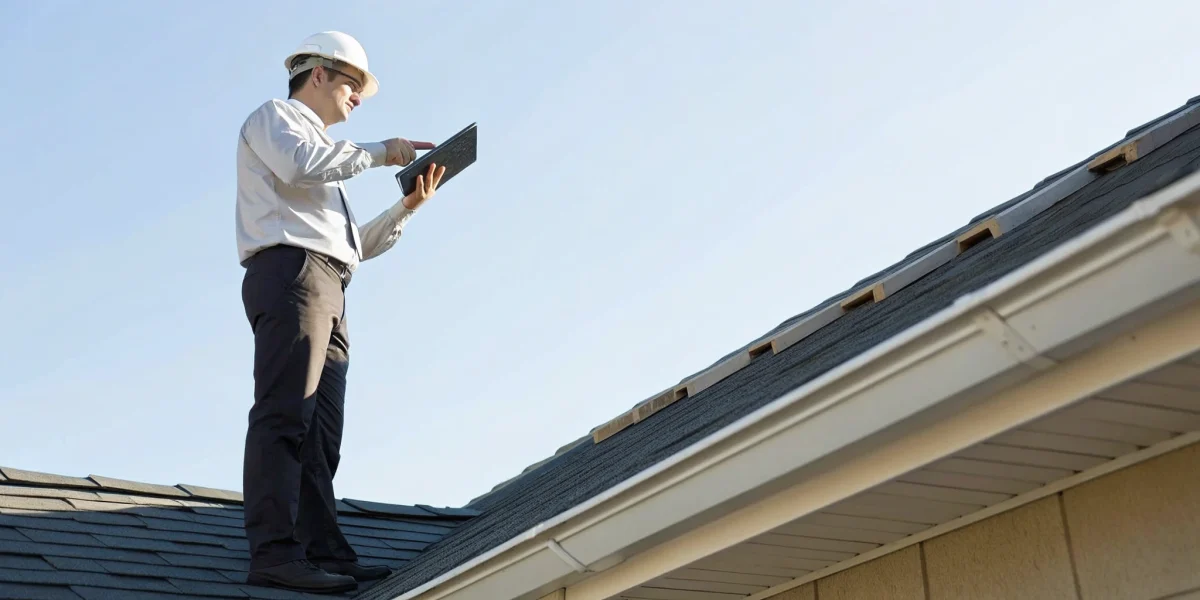
Not all roofs are created equal, and your training will teach you how to approach each one with a specialist’s eye. You’ll learn the specific inspection techniques for a wide range of materials, from common asphalt shingles to tile, metal, wood, and slate. Each material has its own unique characteristics, common failure points, and signs of aging. For example, inspecting a metal roof for rust and fastener issues is very different from checking a tile roof for cracked or displaced tiles. A great program ensures you can confidently assess any residential or commercial roof, providing clients with an accurate evaluation and contributing to truly LeakFREE® roofs.
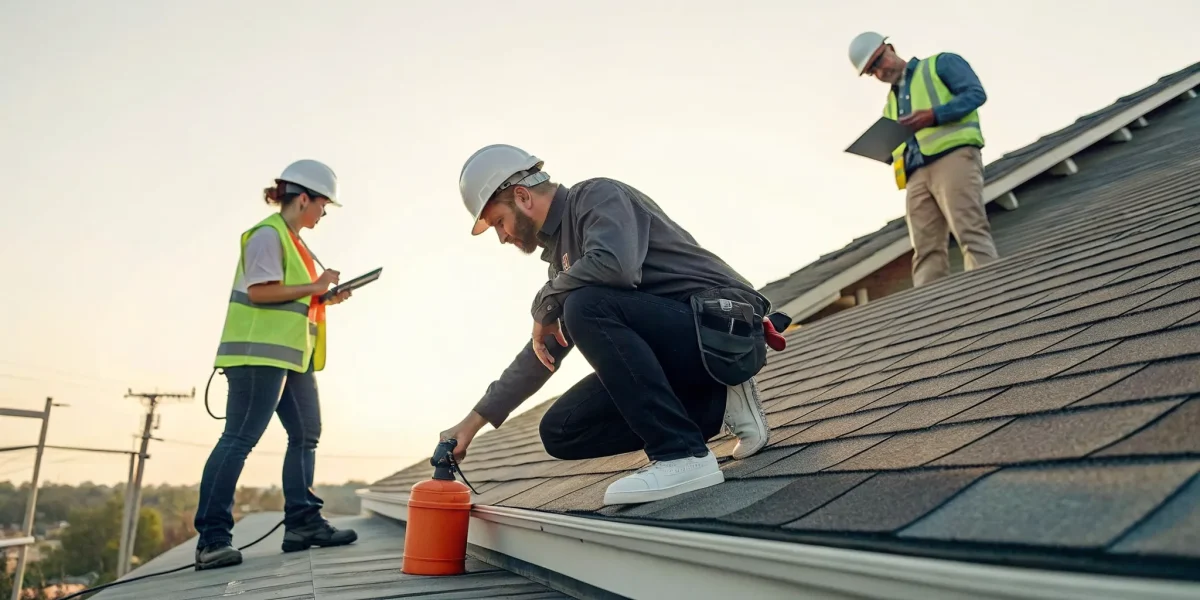
Mastering Safety Protocols and Equipment
Your safety on the job is the top priority, and formal training instills the critical practices that protect you. You’ll learn how to properly use ladders, harnesses, and other personal protective equipment. The curriculum will cover how to assess a roof for safety before you even step on it, identifying potential hazards like steep pitches, slippery surfaces, or structural instability. Following these established safety protocols not only prevents accidents but also demonstrates your professionalism to clients. Our training portfolio emphasizes these essential skills, ensuring every inspector can perform their work safely and confidently.
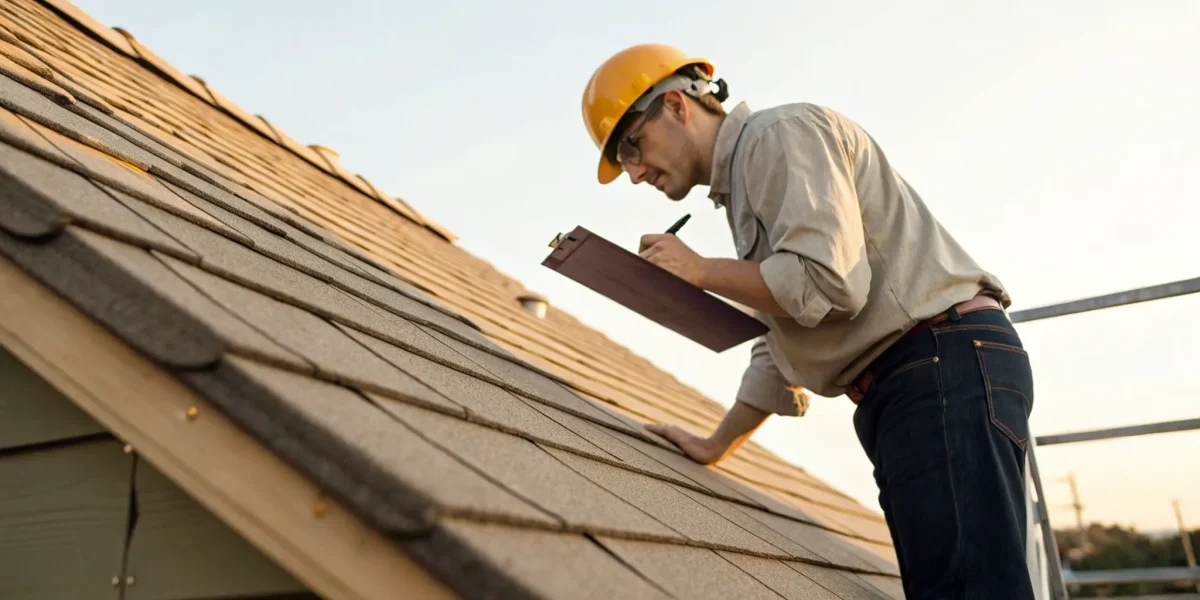
Creating Professional Reports and Documentation
A roof inspection is only as good as the report you deliver. Your training will teach you how to translate your findings into clear, detailed, and professional documentation. You’ll learn to distinguish between different types of damage, whether it’s from a storm, a manufacturing defect, or improper installation, and how to support your conclusions with photographic evidence. Using specialized inspection software is a key part of this process, helping you create consistent and easy-to-understand reports that homeowners, real estate agents, and insurance companies can rely on to make informed decisions.
Get to Know Roofing Materials and Building Codes
Becoming a true expert means understanding the materials you’re inspecting and the rules that govern their installation. Training programs provide a deep dive into various roofing systems, including built-up roofing, modified bitumen, and single-ply membranes commonly found on commercial properties. You’ll also learn about industry standards and relevant local building codes. This knowledge is crucial because it gives you the context to determine if a roof was installed correctly and if it meets current safety and durability requirements. This expertise is what makes a certified inspector an invaluable resource for any property owner.
Putting Your Skills to the Test with Hands-On Training
Classroom learning provides the foundation, but hands-on experience is where your skills truly take shape. Many training programs incorporate practical, real-world exercises where you can apply what you’ve learned under the guidance of seasoned professionals. You’ll get comfortable using essential tools of the trade, such as moisture meters, infrared cameras, and even drones, to conduct more thorough inspections. This practical application is invaluable. It builds the confidence you need to handle any situation you might encounter in the field and solidifies the knowledge gained in your coursework, preparing you to effectively serve your clients.
What Happens After Training? Your Certification Options
Completing your training is a huge accomplishment, but it’s just the first step. The next move is getting certified. Think of certification as your professional seal of approval. It’s how you prove to clients, real estate agents, and insurance companies that you have the skills and knowledge to perform a thorough and accurate roof inspection. Certification validates your training and shows you’re committed to a high standard of excellence in the industry. It’s what separates the pros from the amateurs and opens the door to better career opportunities.
Different paths are available, each with its own focus and benefits. From the industry-leading NRCIA certification to other specialized credentials, understanding your options is key to building a career you can be proud of. It’s also important to remember that certification isn’t a one-and-done deal. The best inspectors are lifelong learners who stay current with their credentials and are always looking for ways to sharpen their skills. Let’s look at what your certification journey could look like.
The NRCIA Path: LeakFREE® Certification
Here at the NRCIA, our training prepares you for the industry’s only standardized roof warranty: the LeakFREE® certification. This credential shows that you’re not just trained to find problems but also to provide solutions that give property owners true peace of mind. When you perform an inspection as a certified professional, you give home buyers confidence, help sellers avoid last-minute repair negotiations, and add tangible value to a property. This certification is a powerful tool that demonstrates your expertise and commitment to quality, making you a trusted partner for homeowners and real estate professionals alike.
Exploring Other Industry Certifications
While we stand by our comprehensive program, it’s good to know the full landscape of industry credentials. Organizations like InterNACHI also offer training and exams for inspectors. To earn a certification from any reputable body, you’ll typically need to complete specific courses and pass a final exam. Some programs focus more on residential inspections, while others might specialize in commercial properties. As you explore different membership levels and training paths, consider which one aligns best with your career goals and the types of clients you want to serve.
How to Keep Your Credentials Current
Earning your certification is a milestone, but maintaining it is just as important. The roofing industry is always evolving with new materials, technologies, and standards. To ensure you remain an expert in your field, most certification bodies require you to complete continuing education credits. This isn’t just about checking a box; it’s about staying sharp and informed. Staying on top of your education and training ensures you’re always providing the most accurate, up-to-date assessments for your clients and upholding the highest industry standards.
Why Certification Makes You More Marketable
In a competitive field, certification is what makes you stand out. It’s a clear signal to potential clients that you are a credible, knowledgeable professional. With specialized training, you can confidently debunk common roofing myths and help homeowners make smart, informed decisions about their properties. This expertise saves them money and builds lasting trust. Ultimately, being certified enhances your reputation and makes you a more sought-after inspector for the wide range of clients who depend on accurate and reliable roof assessments, from homeowners to insurance companies.
Choosing a Program and Launching Your Career
Once you’ve decided to pursue certification, the next step is to find the right training and start building your career. Think of your training program as the foundation of your business. A solid education, combined with practical experience and a strong professional network, will set you up for long-term success. Let’s walk through how to choose the best program for you and what your career path could look like after you’re certified.
How to Pick the Right Training Program
Finding the right training program is a personal decision that depends on your learning style and career goals. Some organizations offer free online courses that cover the basics of residential roof inspections, which can be a great way to get started. For a deeper dive, look for comprehensive programs that offer specialized training and certification. The NRCIA’s training portfolio is designed to equip you with the skills needed for our LeakFREE® Certification. When comparing options, review the curriculum to ensure it covers different roofing materials, safety protocols, and report writing.
Finding Resources for Continued Learning
Your education doesn’t end once you get your certificate. The roofing industry is always evolving with new materials and building codes, so staying current is essential for your credibility and success. Most certifications require continuing education credits to remain active. Look for organizations that provide ongoing learning opportunities, like webinars, workshops, and access to a resource library. Committing to lifelong learning shows clients that you are a dedicated professional who is serious about your craft. It’s a simple way to maintain your edge and provide the best possible service.
Connect with Mentors and Build Your Network
Technical skill is only half the battle; your success also depends on your ability to communicate effectively and build relationships. Finding a mentor who can guide you through the early stages of your career is invaluable. You can gain hands-on experience by seeking out internships or entry-level positions with established inspectors. Joining a professional organization is another fantastic way to build your network. Connecting with peers through different membership levels can lead to friendships, advice, and even job referrals.
What Your Career Path Could Look Like
As a certified roof inspector, you play a crucial role in protecting what is often someone’s largest investment: their property. This is a responsibility that creates consistent demand for qualified professionals. Your career can take many forms. You might start by working for an established inspection company to build your experience. Later, you could launch your own business, giving you the freedom to set your own schedule and rates. You can also specialize in a particular niche, such as commercial properties or inspections for insurance claims. No matter which path you choose, your certification is the key that opens the door to a rewarding and stable career.
Related Articles
- Roof Inspector Training Course: What to Expect
- Your Guide to the Roof Inspector Job Description
- 5 Best Online Roof Inspector Certification Courses
- Roof Inspection Archives – NRCIA
- Roofing Safety Standards: Ensuring Your Inspection Runs Smoothly – NRCIA
Frequently Asked Questions
Do I need roofing experience before I start training? While a background in roofing or construction is a definite advantage, it isn’t always a strict requirement. A comprehensive training program will teach you the technical skills you need from the start. More important are qualities like a sharp eye for detail, strong communication skills, and a genuine interest in learning the trade. Hands-on experience helps, but a great attitude and work ethic can take you just as far.
What makes an NRCIA LeakFREE® certification different from other certifications? The key difference is the value you provide to the property owner. Most certifications prove that you can identify existing problems on a roof. Our LeakFREE® certification, however, demonstrates that you can provide a solution backed by the industry’s only standardized roof warranty. This gives your clients tangible peace of mind and makes your inspection services much more valuable in real estate transactions.
Can I start my own business right after getting certified? Yes, you can. Your certification gives you the professional credibility needed to work for yourself. Many inspectors successfully launch their own businesses right away. Some, however, prefer to work with an established company for a year or two to gain more field experience and learn the business side of the industry before going solo. The path you choose depends entirely on your comfort level and business goals.
How physically demanding is the job of a roof inspector? This is an active career that requires you to be in good physical condition. The job involves carrying and setting up ladders, being comfortable with heights, and walking safely on roofs with various pitches and surfaces. Good balance and physical confidence are essential for performing your job safely and effectively day in and day out.
Besides the training course, what are the main startup costs? Your primary investments after training will be in your professional tools. This includes a high-quality ladder, essential safety gear like a harness and proper footwear, and specialized inspection software for creating clear, professional reports. You may also want to purchase tools like a moisture meter or a good camera. These items are the foundation of your business and are crucial for performing thorough, credible inspections.