The difference between a good roofer and a great one often comes down to accountability. A workmanship warranty is a contractor’s direct statement of confidence in their own work. It’s a promise that the job was done to professional standards and will stand the test of time. For property owners, understanding the terms of a 5 year workmanship warranty roofing is essential for making an informed hiring decision. This warranty isn’t about the materials; it’s about the skill, precision, and quality of the hands that installed them. It ensures that if an issue arises from faulty labor, the contractor who did the work is responsible for making it right.
Key Takeaways
- Understand the two types of roof protection: A workmanship warranty covers the quality of the installation labor provided by your contractor, while a material warranty covers defects in the physical roofing products, like shingles, from the manufacturer.
- A warranty is only as good as the company behind it: Choose a contractor who is licensed, insured, and has a long-standing positive reputation. A promise on paper is worthless if the business isn’t around to honor it.
- Follow the rules to keep your warranty active: You can void your coverage by hiring unapproved contractors for repairs, making unauthorized alterations like installing a satellite dish, or failing to perform routine maintenance.
What Is a 5-Year Roofing Workmanship Warranty?
When you invest in a new roof, you’re not just buying shingles and nails; you’re paying for the skill and labor required to install everything correctly. A workmanship warranty is your contractor’s promise that their team did the job right. It’s a critical piece of protection that gives you peace of mind, but it’s often misunderstood.
Think of it as a safety net. If a leak appears a year after installation because a flashing was installed improperly, the workmanship warranty is what covers the cost of the fix. Understanding the specifics of this warranty helps you choose a reliable contractor and ensures your investment is protected long after the crew has packed up.
Defining the Basics
At its core, a 5-year workmanship warranty covers mistakes made during the installation of your roof. It’s a promise from your roofing contractor that their work will be done right. This warranty holds the contractor accountable for the quality of their labor for a set period, which in this case is five years. If an issue arises directly from an installation error, the contractor is responsible for correcting it at no cost to you.
This type of warranty is all about the “how,” not the “what.” It focuses entirely on the skill and execution of the installation team. It doesn’t cover the physical materials used, but rather the service of putting them all together to create a functional, secure roof over your head. It’s a direct reflection of a contractor’s confidence in their own work and a key indicator of a professional you can trust to deliver LeakFREE® roof protection.
Workmanship vs. Material Warranties: What’s the Difference?
It’s easy to confuse workmanship and material warranties, but they cover two completely different things. A material warranty comes from the manufacturer of the roofing products (like the shingles or underlayment) and protects you against defects in those products. A workmanship warranty covers the work done by the roofing company, meaning it applies if they make a mistake during installation. It does not cover problems with the materials themselves; that’s the manufacturer’s job.
Here’s a simple way to remember it. A manufacturer warranty covers faulty roofing materials, like a batch of bad shingles. A workmanship warranty covers errors in how the roof was put on, like if those shingles were nailed incorrectly. For complete protection, you need both. A great contractor will not only offer a solid workmanship warranty but will also use quality materials backed by a reliable manufacturer’s warranty, ensuring all property stakeholders are covered.
What Does a Workmanship Warranty Actually Cover?
A workmanship warranty is your contractor’s promise that they installed your roof correctly. It’s a guarantee on the quality of their labor, not the physical materials used. Think of it as a safety net for the “how” of your roof installation. If a problem pops up because a shingle was nailed incorrectly or a seam wasn’t sealed properly, this is the warranty that steps in to make it right. It’s focused entirely on the skill and execution of the roofing team. This distinction is important because it separates the contractor’s responsibility from the manufacturer’s. The manufacturer covers the shingles, underlayment, and other components, while your roofer covers the hands-on work of putting it all together.
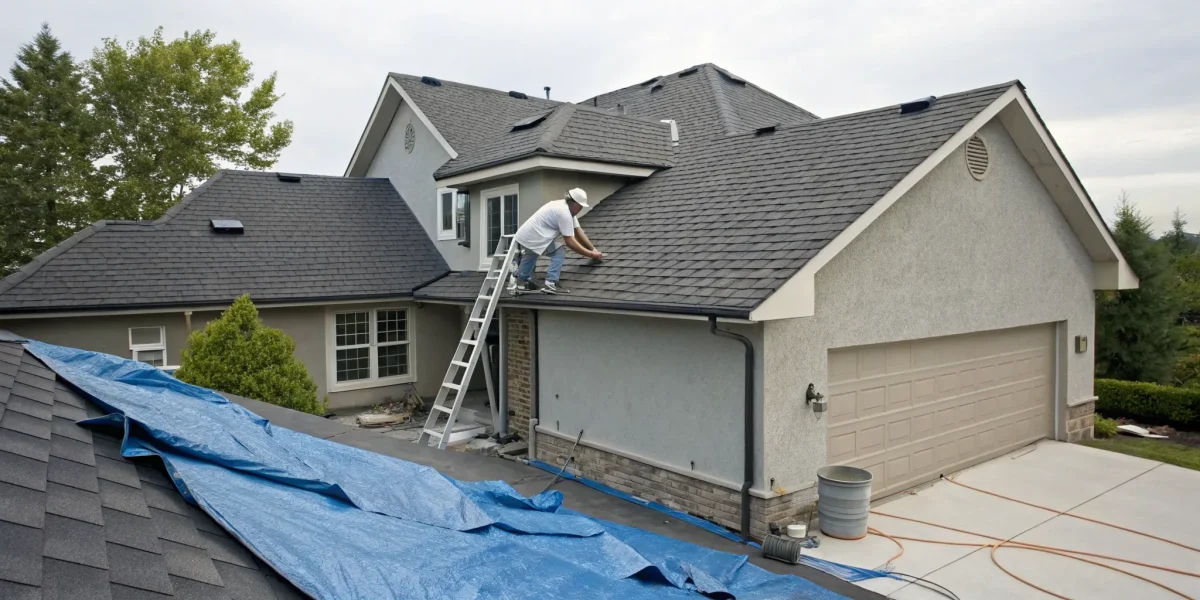
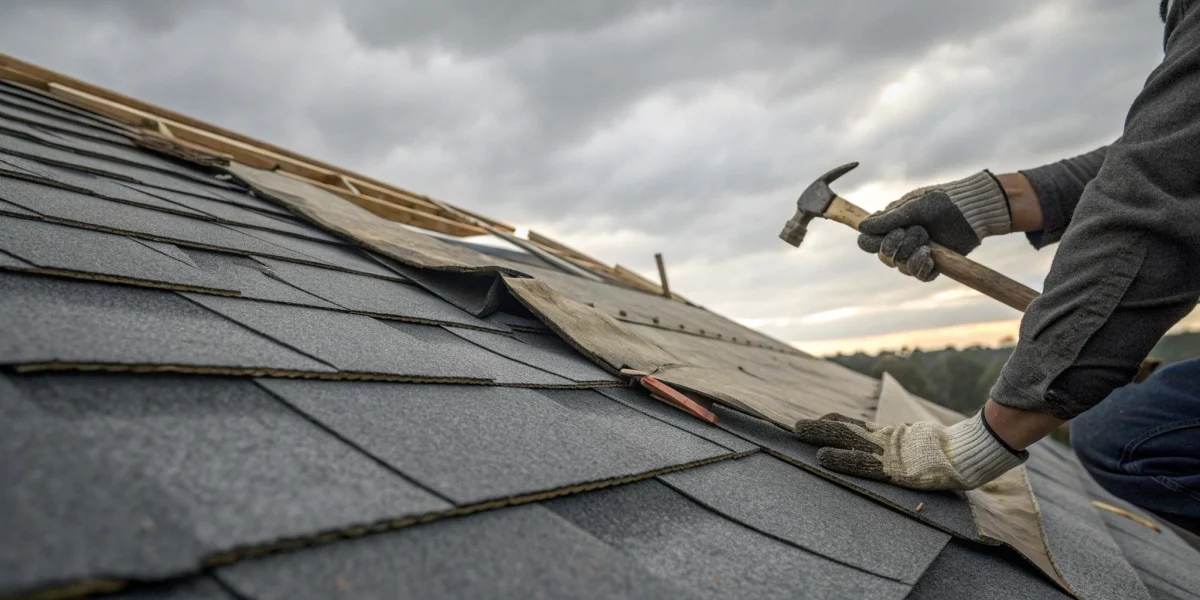
Installation and Labor Mistakes
At its heart, a workmanship warranty covers any issues that arise from mistakes made during the installation process. It’s your contractor’s pledge that their team’s work is up to professional standards. This includes things like improperly fastened shingles, incorrect nail placement, or faulty installation of the underlayment. Basically, if your roof fails because of something the installation crew did (or didn’t do), the warranty should cover the cost of labor and materials to fix that specific error. It’s a direct reflection of the contractor’s confidence in their team’s skills and training.
Leaks Caused by Faulty Work
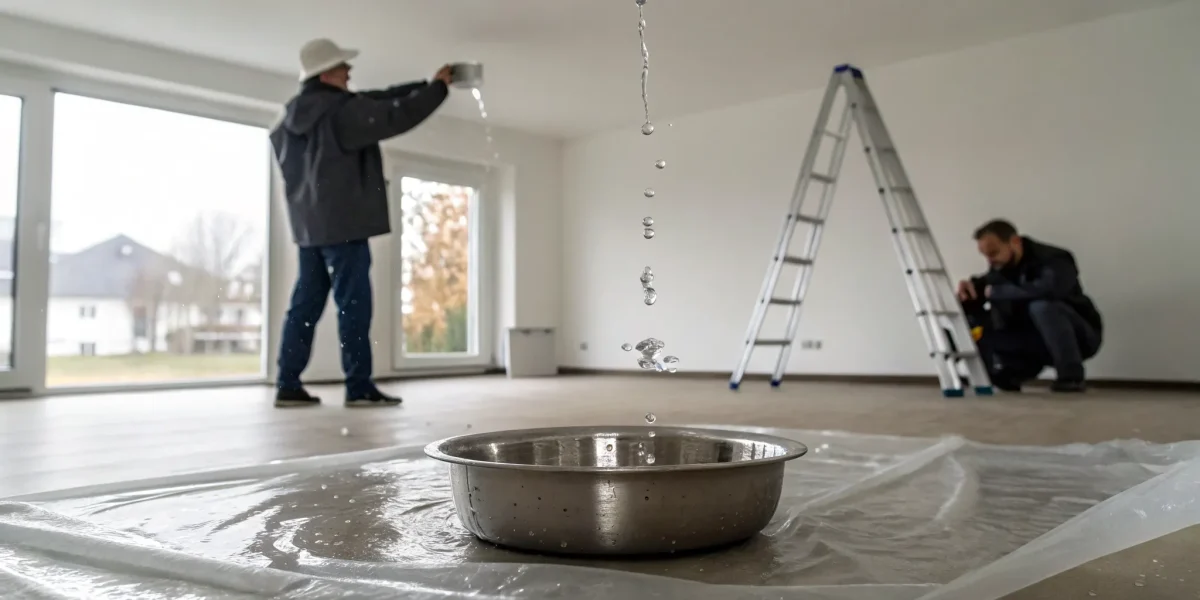
One of the most common and stressful problems a homeowner can face is a roof leak. A solid workmanship warranty specifically covers leaks that are a direct result of poor installation. For example, if water gets in because shingles weren’t overlapped correctly or the ice and water shield was improperly applied, your contractor is responsible for the repair. This is why a LeakFREE® roof certification can be so valuable; it provides an extra layer of assurance that the installation was done right from the start. Remember, the warranty covers the cause of the leak, so if it’s due to faulty labor, you’re protected.
Flashing and Sealing Failures
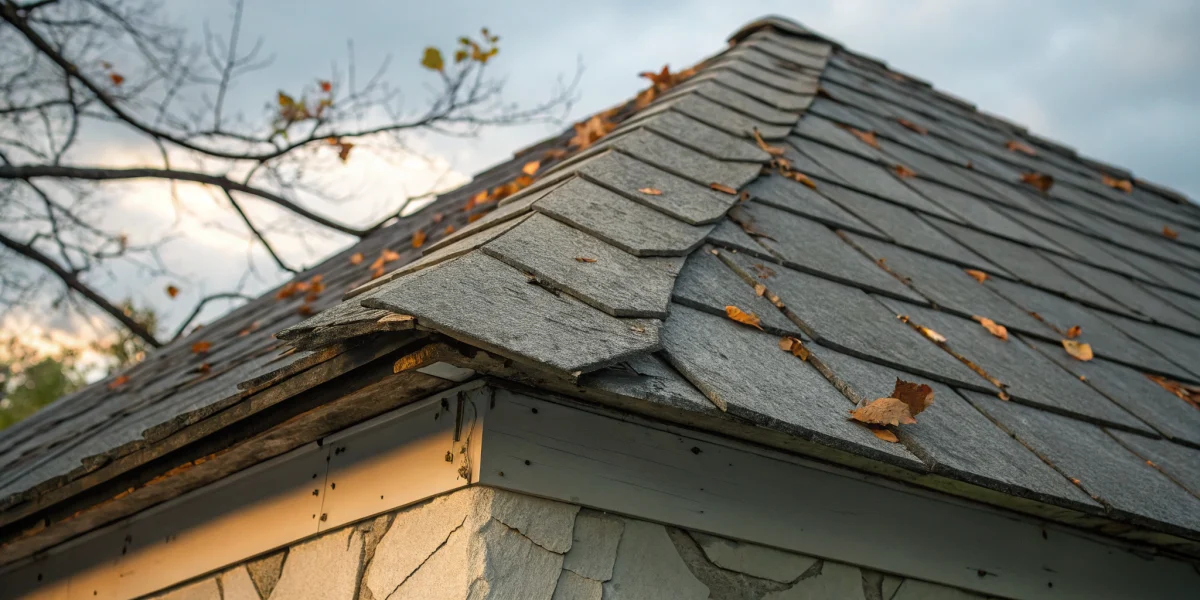
Some of the most vulnerable areas on your roof are around chimneys, vents, and skylights. These spots require flashing, which are metal strips designed to direct water away. A workmanship warranty covers failures related to improper flashing installation. If the flashing is bent, poorly sealed, or installed incorrectly, it creates a direct path for water to enter your home. The same goes for sealants used on various parts of the roof. If the sealant fails prematurely because it was applied incorrectly, the resulting damage should be covered by your contractor’s warranty.
Common Exclusions to Know
It’s just as important to understand what your workmanship warranty doesn’t cover. This warranty will not apply to issues with the roofing materials themselves; that falls under the manufacturer’s warranty. It also excludes damage from events beyond the contractor’s control, like severe storms, hail, or falling tree limbs. Damage caused by other people, such as someone walking on the roof improperly or installing a satellite dish, is not covered. Normal wear and tear or lack of routine maintenance also fall outside the scope of a workmanship warranty. Always read the fine print to know exactly what is and isn’t included.
Common Myths About Workmanship Warranties
Workmanship warranties can give you peace of mind, but they’re often misunderstood. Believing these common myths can leave you with unexpected repair bills and a lot of frustration. Let’s clear up the confusion so you know exactly what your warranty protects and what it doesn’t.
Myth #1: It Covers Defective Materials
One of the biggest misconceptions is that a workmanship warranty covers the physical roofing materials. This warranty is strictly for the contractor’s labor. If your shingles are faulty or your flashing fails due to a manufacturing defect, you’ll need to file a claim under the manufacturer’s material warranty, which is a completely separate document. A workmanship warranty only kicks in if the installation was done incorrectly. Think of it this way: if the roofer installed a perfect shingle improperly, it’s a workmanship issue. If the roofer installed a defective shingle perfectly, it’s a material issue.
Myth #2: It Protects Against All Types of Damage
Your workmanship warranty is not an all-encompassing insurance policy for your roof. It specifically covers errors made during installation. It won’t cover damage from events outside of the contractor’s control, like severe storms, high winds, or a tree branch falling on your house. It also typically excludes issues caused by people walking on the roof or damage from alterations made after the initial installation. For more complete protection against leaks, you might consider a LeakFREE® roof certification, which offers a more comprehensive guarantee.
Myth #3: Every Contractor Automatically Includes One
Never assume a workmanship warranty is standard. While many reputable contractors offer them, it’s not a universal practice, and the terms can vary significantly from one company to the next. Some may offer a one-year warranty, while others provide five or even ten years of coverage. It’s a feature that reflects a contractor’s confidence in their work. Always ask about the warranty upfront and make sure it’s detailed in your written contract. A contractor who is hesitant to guarantee their work should be a major red flag.
Myth #4: It Guarantees Your Roof’s Lifespan
A warranty is only as good as the company that backs it. Unfortunately, a large number of roofing contractors go out of business within just a few years. If your contractor closes their doors, that 5-year workmanship warranty they promised becomes worthless. This is why it’s so important to work with established and financially stable companies. Vetting your contractor’s history and stability is just as crucial as reviewing the warranty itself. Choosing a certified inspector or contractor ensures you’re working with a professional committed to industry standards and longevity.
How to Choose a Contractor With a Reliable Warranty
A warranty is a promise, and its value depends entirely on the company making it. When you’re investing in a new roof, you’re also investing in the contractor you hire. Choosing a reputable professional is the single most important step to ensure your workmanship warranty will be honored if you ever need it. A piece of paper means nothing if the company that issued it is no longer around or refuses to stand by its work. A strong warranty from a weak company is a recipe for disappointment.
So, how do you find a contractor who offers a warranty you can count on? It comes down to doing your homework before you sign a contract. You need to look beyond the warranty’s length and focus on the contractor’s stability, credentials, and professionalism. Taking these extra steps will give you peace of mind, knowing that your roof is protected by a company that is committed to quality and customer service. The best contractors are often part of professional organizations that hold them to a higher standard, like the certified professionals within our network. This process isn’t just about finding someone to install shingles; it’s about finding a long-term partner for the health of your home.
Vet Their Reputation and Financial Health
A warranty from a contractor who goes out of business next year is completely useless. That’s why it’s so important to check a company’s history and financial stability. Look for contractors who have been operating in your area for a long time; a lengthy track record often points to consistent quality and a stable business. You can check online reviews on multiple platforms, ask for local references you can contact, and verify their business address. A contractor with deep roots in the community has a reputation to protect and is more likely to be there for you down the road. As the Better Business Bureau suggests, a solid reputation is a key indicator of a trustworthy business.
Confirm They Are Licensed and Insured
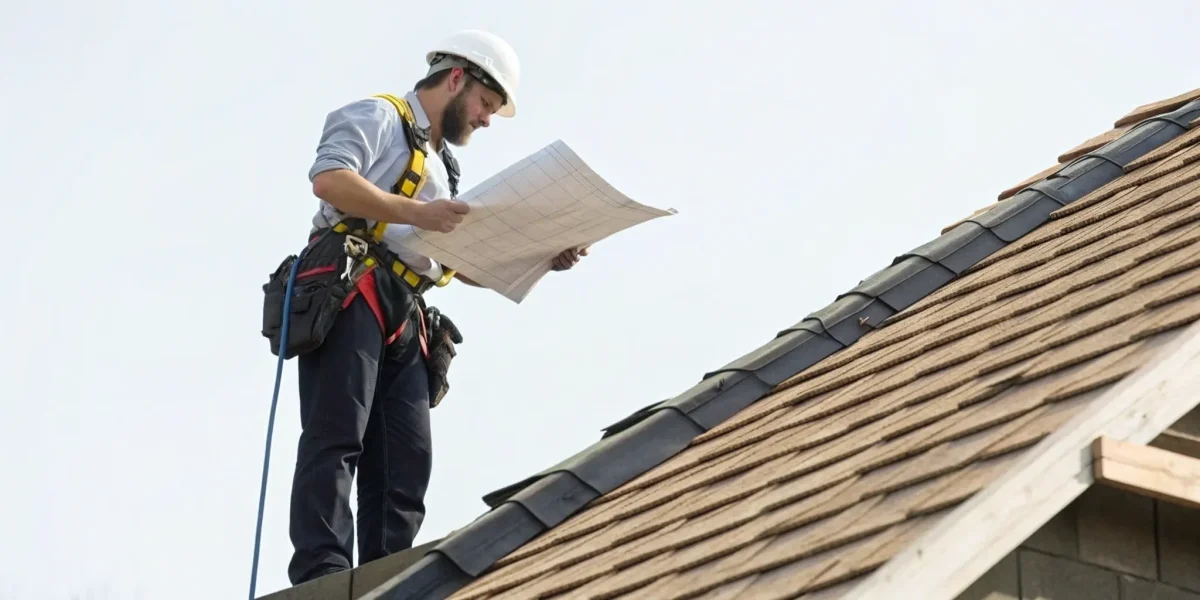
Before you even discuss a warranty, make sure the contractor is properly licensed and insured. Licensing requirements vary by state and city, but a valid license shows that the contractor has met the minimum standards to operate legally. More importantly, ask for proof of both general liability insurance and worker’s compensation. Liability insurance protects your property from damage, while worker’s compensation covers their employees if they get injured on the job. A contractor who carries the right insurance is not only protecting you from financial risk but also demonstrating a level of professionalism and responsibility that suggests they will honor their commitments, including their workmanship warranty.
Always Get the Warranty in Writing
A verbal agreement or a brief mention of a warranty on an invoice isn’t enough. You need a formal, written document that clearly details the terms of the workmanship warranty. This document should be part of your overall contract and should specify exactly what is covered, the duration of the coverage, and any exclusions or limitations. Read it carefully before signing. Does it cover both labor and materials used for a repair? What steps do you need to take to file a claim? Having everything in writing eliminates confusion and provides a clear, legally binding agreement that protects your investment.
Ask About Transfer and Subcontractor Policies
Two final questions can save you a lot of headaches later. First, ask if the warranty is transferable to a new owner. A transferable warranty can be a great selling point if you decide to move, adding value to your home. Second, find out if the company uses subcontractors for its installations. If they do, clarify who is responsible for the workmanship warranty: the contractor you hired or the subcontractor who performed the work? The best contractors will stand behind all work done under their name. This is a key feature of our own LeakFREE® roof certifications, which provide a clear, standardized promise of quality regardless of who performs the work.
How to Avoid Voiding Your Workmanship Warranty
A workmanship warranty is your safety net, but it’s a two-way street. To keep your coverage active, you need to follow the terms laid out by your contractor. Think of it as a partnership in protecting your home. Sticking to the rules is usually straightforward and ensures that if a problem arises from the installation, your contractor will be there to make it right. Here are four key steps you can take to protect your warranty and your peace of mind.
Don’t Hire Unapproved Contractors for Repairs
One of the quickest ways to void your warranty is to have another company work on your roof. Your original contractor guarantees their own installation, not the work of another roofer. If you hire someone else for a repair, the original contractor can no longer be certain that any future issues are due to their initial work. Even for what seems like a minor fix, always call the company that holds your warranty first. Hiring an unlicensed or unapproved person to perform repairs can lead to a complete loss of your warranty, leaving you to cover the cost of fixing any new problems.
Don’t Skip Routine Maintenance
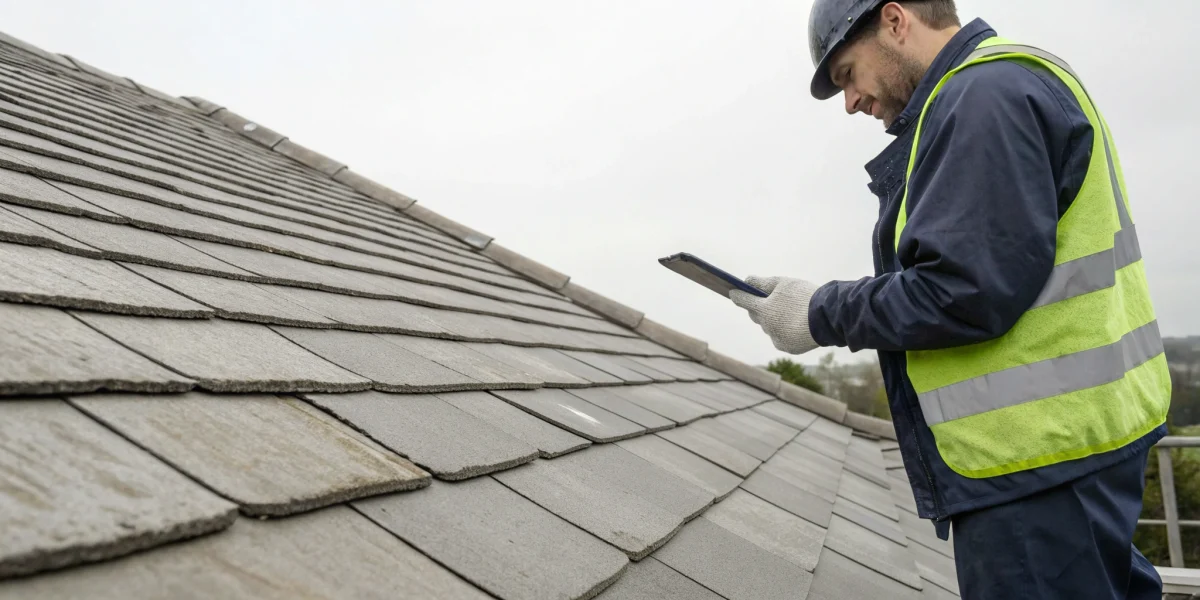
Your roof needs regular checkups, just like your car. Many warranties require you to have your roof inspected periodically, often every one or two years, to keep the coverage valid. This isn’t just a formality; routine maintenance catches small issues before they escalate into costly damage. An inspection can identify things like clogged gutters, cracked sealant, or loose flashing that could lead to leaks down the road. By keeping up with maintenance, you show you’re doing your part to care for the roof. A great way to stay on top of this is with a LeakFREE® roof certification, which includes regular inspections to ensure your roof remains in top condition.
Avoid Making Unauthorized Changes to Your Roof
Thinking about adding solar panels, a satellite dish, or a new skylight? Before you do, check with your original roofing contractor. Making unauthorized alterations can easily void your workmanship warranty. These installations involve drilling holes or altering the roof’s surface, which can compromise its water-shedding capabilities if not done correctly. Your contractor’s warranty covers the roof system as they installed it. Any changes made by another party introduce new variables and potential points of failure that they cannot be responsible for. Always get approval from your original roofer before starting a new project to ensure your warranty remains intact.
Report Any Issues Right Away
If you spot a sign of trouble, like a water stain on your ceiling or a missing shingle, don’t wait to act. Contact your roofing contractor immediately. Most warranties require you to report issues within a specific timeframe. Waiting allows minor problems to become major ones. For example, a small, slow leak can lead to rotted wood, damaged insulation, and mold growth over time. While the initial leak might have been covered, the extensive secondary damage caused by the delay might not be. Promptly reporting issues allows your contractor to assess and fix the problem quickly, preventing further damage and ensuring the repair is covered if it falls under their workmanship guarantee.
Related Articles
- What Does a Roof Certification Warranty Cover?
- Is a Roof Certification a Warranty? A Clear Guide
- Does a Roof Warranty Increase Home Value? The Real Answer
- Protect Your Warranty: Find a Certified Roof Inspector
Frequently Asked Questions
What’s the first thing I should do if I think I have a roof leak? Before you do anything else, document the problem with photos and notes about when you first noticed it. Then, contact the contractor who installed your roof and holds your workmanship warranty. It is critical that you call them first. Bringing in another company to inspect or fix the issue, even for a small problem, can void your warranty coverage with the original installer.
Is a 5-year warranty considered a good length of time? Yes, a 5-year warranty is a strong industry standard. Most problems related to faulty installation, like improper nailing or sealing, will show up within the first one or two years after the roof has been through a full cycle of seasons. The reputation and stability of the contractor offering the warranty are ultimately more important than the length of the term itself.
How is an NRCIA LeakFREE® certification different from a standard workmanship warranty? A standard workmanship warranty is a promise made directly by the contracting company that installed your roof. An NRCIA LeakFREE® certification, on the other hand, is a third-party guarantee that the roof meets a specific, high-quality installation standard. It provides a standardized level of protection backed by a national association, which can offer greater peace of mind beyond the individual contractor’s promise.
What happens to my warranty if my contractor sells their business? This really depends on the specific terms outlined in your written warranty. Some warranties are transferable and will be honored by the new business owner, while others may become void. This is an excellent question to ask a contractor before you hire them. A reputable company will have a clear policy for this situation, ensuring you know what to expect if the business changes hands.
Will making small changes, like painting a roof vent, void my warranty? It’s always best to play it safe and check with your contractor before making any alterations to your roof. While a purely cosmetic change like painting a vent is unlikely to cause an issue, anything that involves drilling, sealing, or attaching new items could compromise the roof system. A quick phone call to your original contractor can confirm what is permissible and ensure you keep your warranty protection intact.