Inspection reports are valuable for homeowners. The most important part of the reports is the photos. They help paint a story of roof observations.
That is why it is important to take clear photos of your various observations. Here are a couple of tips to help you get the most out of your photos.
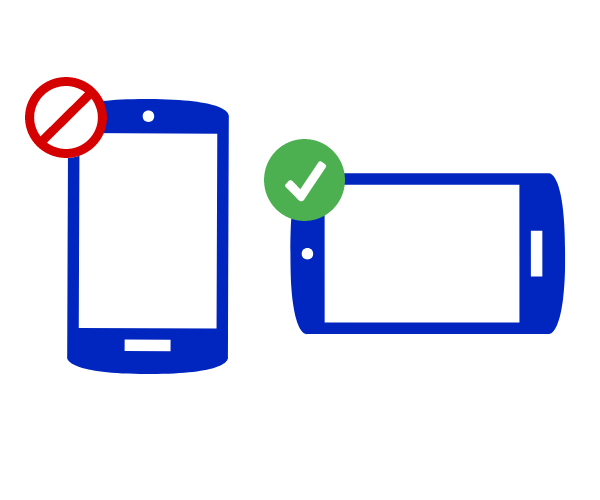
Take photos in landscape orientation
Photos inserted into the inspection software will look best if taken in landscape.
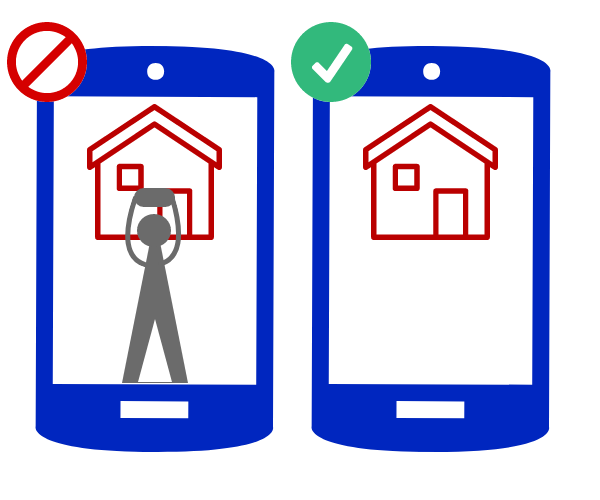
Avoid your shadow
Easier said than done, but when you can, avoid getting your shadow in the observation photos.
Take lots of photos
A picture is worth a thousand words, but you might have to take the same picture 10 times to capture the best one. Remember it is always easier to sift through the photos at home than it is to have to return to the inspection site because you forgot to take a picture of something.
Light is your friend
NRCIA recommends carrying a flashlight with you for inspections. Light in general (whether from a flashlight or a camera flash) will help immensely with photos in the interior, attic, and garage.
Follow the process & work clockwise
Take inspection photos in the order of zones. NRCIA Inspections cover five main zones (interior, attic, garage, perimeter, and rooftop). Take your pictures in that order.
Being systematic ensures you follow the correct inspection process, mitigates the possibility of skipping an area, and over time improves your inspection speed.
This extends into each zone, where the NRCIA recommends you observe and take pictures in a clockwise pattern. In the interior, work your way around the rooms in a clockwise fashion to avoid missing rooms (don’t forget closets either!!). On the rooftop, following a clockwise pattern helps you be more precise. Instead of wandering the roof and taking pictures, you work through the “zones” of the rooftop. This will save you time and organizational headaches as all your photos will be saved in the order you take them.
Take an overview photo then detailed photos
Every good report contains overview shots of each zone. This is especially true for the rooftop. Remember your report may be the first time your client is actually seeing the condition of their rooftop.
Providing overview photos helps your reports read better. Following those overview photos with detailed photos in that zone makes your report valuable.
As an NRCIA inspector, your goal is to provide the homeowner with a concrete understanding of their roof system. You are the roofing expert and you get to share your knowledge to help your clients!