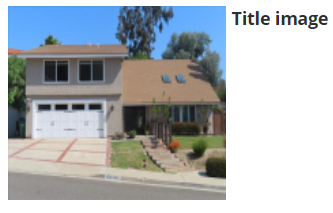
Title images provide a professional introduction to your roof inspection report for clients. A title image should be a shot of the front of the property.
Tip: If possible try to get the address number in the photo, as this can help you stay organized.
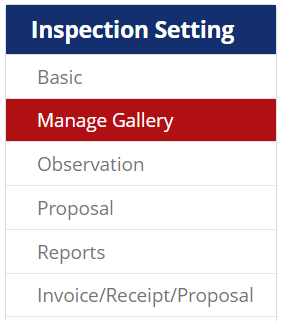
After you upload photos to the inspection report, you will be be on the “Manage Gallery” tab of the inspection. If not, navigate to this screen.
Find your title image
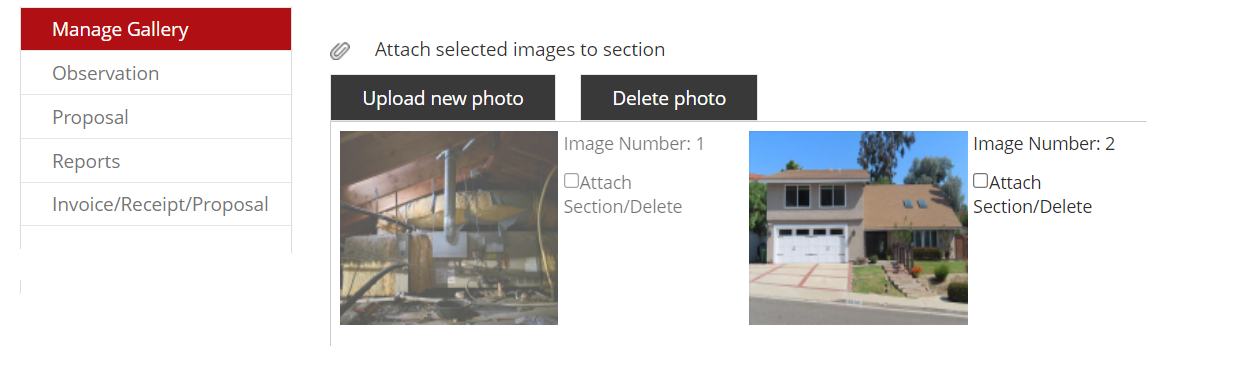
In the middle section, you will see all the photos you have uploaded. Find the one that you want to mark as your title image and click it.
Mark as title
You will see a larger version of the image in the right-hand section. To set the picture as a title image, click the icon on the far left-hand side of the menu.
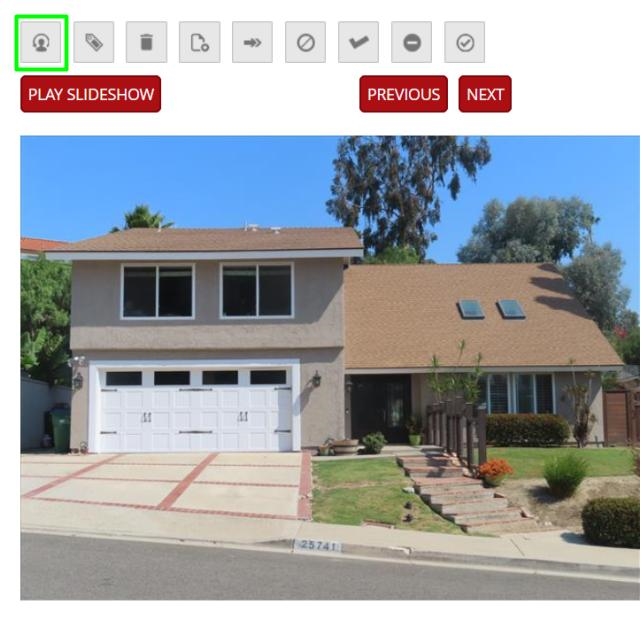
Confirm your title image and you are all set! If it was successfully changed, you would see this with your title picture.