Watch a video walkthrough
Aerial photos provide a good overview shot for the homeowner. Some inspectors even mark red flags on the aerial image so homeowners understand where issues on their roof are located.
Before you start, it will be helpful to familiarize yourself with your computer’s screen grab tool. This tool will allow you to save a picture of what is on your screen. Below are links on how to do this according to your operating system.
Now that we know how to take screenshots, here is how you can create ariel photos with Google Earth.
Navigate to Google Earth
Website URL: https://earth.google.com/
Find Property on Google Earth
Click the search icon on the left-hand side and type in the property address. Note that Google does not always provide the most accurate location for homes on rural addresses, so you may have to search a little.
Frame the Property
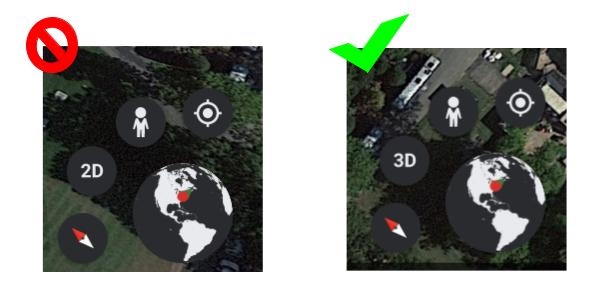
Once you have located the property, zoom in so that it fills the computer screen. Also, make sure to turn off 3-D mode.
Measure the Roof – Optional
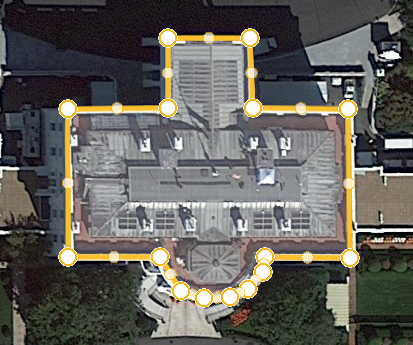
Depending on the type of information you want to include in your report, you can roughly measure the size of the roof using the measuring tool () located on the left hand menu.
When that tool is selected, you can start outlining the roof. Click on a corner of the roof and start measuring. To end the selection process, close the shape by clicking on the first dot laid.
Take a Picture of Your Screen
Using a screengrab tool, take a picture of the roof and save it to your computer. When saving, make sure you name it and note where you put in on your computer to avoid having to do this process again.
Once you upload the picture to it’s respective inspection file, you can edit it, add arrows, or type over it using InpsectionPLUS’s built-in editor. Below is what the edit image button looks like in the “Manage Gallery” tab and “Observation” tab.