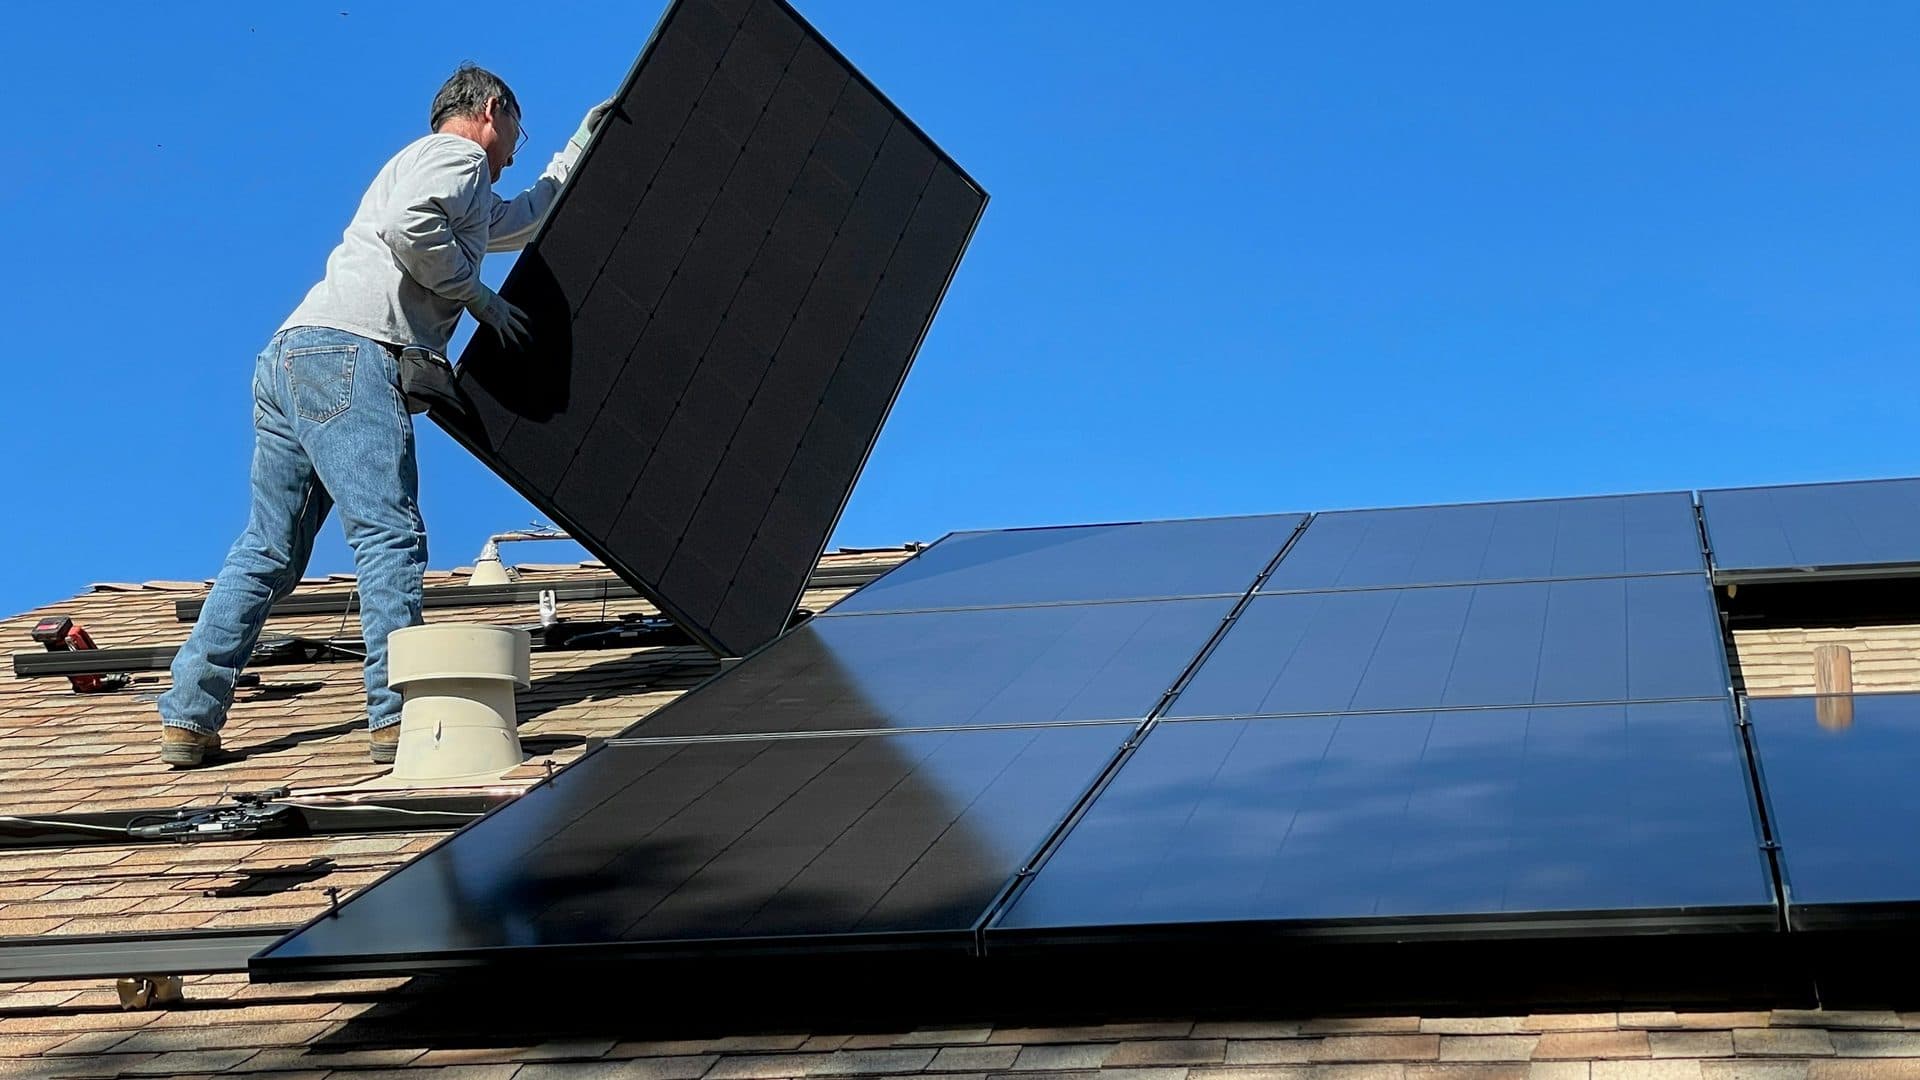
SolarCHECK™ provides independent roof inspections before, during, and after solar installation, along with focused investigations when a leak is reported.
A roof inspection before solar panels are installed can help a property owner understand the condition of the roof areas that may soon become harder to access. Solar arrays can remain in place for years, while roofing materials, flashings, drainage paths, and prior repairs continue to age beneath and around them.
The inspection does not decide whether a solar system will perform as promised. Its purpose is to document the roof, identify visible conditions that may affect the planned installation, and give the property owner useful information before work begins. Additional inspections during and after installation can create a clearer record of how the roof interface changed over time.
Why the roof should be evaluated first
Installing panels over a roof with unresolved leakage, damaged materials, deteriorated flashing, or limited remaining service life can make later roof work more complicated. Panels, rails, mounts, wiring, and related equipment may restrict access or require removal before a repair can be completed.
A pre-installation inspection should focus on the roof areas intended for the array and the conditions that could affect water shedding or future access. The findings may help the property owner decide whether maintenance, repair, or replacement should be discussed with qualified professionals before the solar contractor begins.
No inspection can promise how long a roof will last. Weather, materials, workmanship, maintenance, building movement, and concealed conditions all affect performance. A useful report describes what was observed, states the inspection limitations, and avoids guarantees.
Signs the roof needs a closer look first
Talk with a qualified roof professional before installation if you notice any of these from the ground or inside:
- Past leaks, ceiling stains or recent roof repairs
- Shingles or tiles that are cracked, curling, missing or shedding granules
- Sagging areas, or damaged metal flashing around chimneys, vents and walls
- Gutters or roof valleys that overflow or hold water
- A roof nearing the end of its expected life, or no record of its age
What a pre-installation inspection may include
- The interior areas below the proposed array, when accessible, for visible staining or moisture-related conditions
- The attic, when accessible and within scope, for signs of water entry, ventilation conditions, and reference points that connect the interior with the roof
- The building perimeter and exterior for drainage, wall, trim, and roof-edge conditions that may be relevant
- The rooftop for visible damage, deterioration, prior repairs, flashings, penetrations, transitions, and drainage concerns
- The proposed array area and any roof sections that may become difficult to reach after installation
The exact scope should be agreed upon in writing. Access, roof pitch, surface condition, weather, equipment, and safety requirements may limit what can be observed.
Why timing during installation matters
A second inspection can be useful after the mounting hardware, flashings, penetrations, and rails are installed but before panels conceal the work. At that point, an inspector may be able to document the roof interface more clearly than after the array is complete.
The inspection may address visible damage to roof materials, the placement of roof penetrations, flashing details, sealant use, debris, and other accessible conditions within the authorized scope. Manufacturer instructions or engineered details may provide relevant references, but the inspector should work within the inspector’s training and authority. Questions involving structural engineering, electrical work, or solar-system performance should be directed to appropriately qualified professionals.
Scheduling is important. The property owner, solar contractor, and inspector should agree on the inspection point in advance so the work is ready to view and the inspection does not create unnecessary delay or unsafe site conditions.
What a post-installation inspection can document
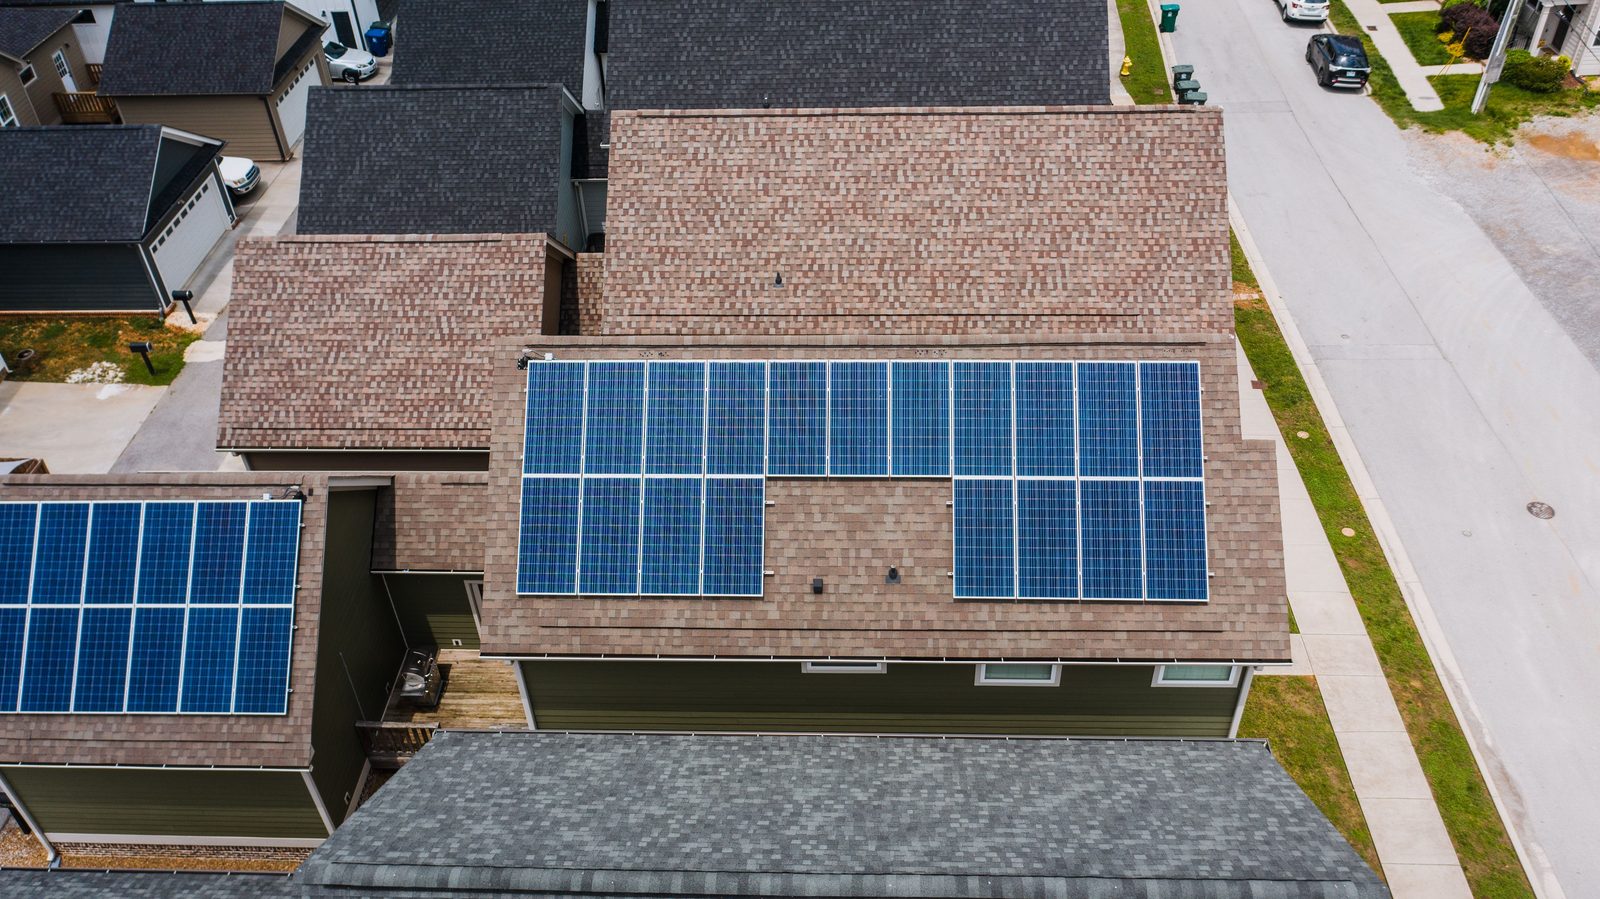
After installation, an inspection can document accessible roof surfaces, the array perimeter, visible roof penetrations, debris, broken or displaced roofing materials, and other conditions that can be observed without dismantling the system. This creates a record of the roof after the work is complete.
The report should state where panels or related equipment blocked the view. A post-installation inspection cannot confirm concealed details that were never visible, and it should not imply otherwise. If a concern appears to extend beneath the array, further access may require coordination with the solar contractor or another properly qualified party.
When a leak appears after solar installation
NRCIA trains members to Think Like a Raindrop™. A leak investigation starts at the reported interior location, traces the water back to where it got in, and then follows it forward to everything it reached. Water can travel along framing, underlayment, fasteners, or other building components before it shows inside, so the stain may not sit directly below the entry point. Panels on the roof do not, by themselves, mean the panels caused the leak.
The investigator may document interior damage, moisture readings, attic conditions, roof slope, drainage paths, flashings, penetrations, mounting locations, prior repairs, and weather-related evidence. The report should distinguish observed facts from professional interpretation and explain how the proposed water path fits the physical conditions.
Some investigations remain limited because panels block the roof surface, attic access is unavailable, or interior finishes conceal the path. If removal or invasive access may be needed, the report should explain why and identify the type of qualified professional who should evaluate or perform that work. The property owner should understand the limitation before relying on a conclusion.
What a good report should show you
A careful report from an NRCIA member should let you check each of these:
- The report names the installation stage and the question it answers, and it stays within the scope in your written agreement.
- Photos are labeled with their location, and areas hidden by panels, equipment or unsafe access are listed.
- For a leak, it explains how water travels from where it got in to where it shows.
- Each condition is marked as meeting the cited requirement, failing it, or needing further evaluation, with a reason.
- It opens with a plain-language summary and states its limits plainly.
Questions to ask before hiring an inspector
- What parts of the interior, attic, exterior, perimeter, and rooftop are included?
- Will the inspector evaluate the roof only, or is the inspector separately qualified for structural or electrical work?
- At what installation stage should the inspection occur?
- How will inaccessible or concealed areas be reported?
- Will the report include photographs, locations, observed conditions, interpretations, and limitations?
- What safety, access, scheduling, or contractor-coordination requirements apply?
Use the report to plan your next step
A SolarCHECK™ inspection gives the property owner a documented starting point. It can identify visible conditions that deserve attention, create a record during installation, and organize the evidence if a leak is reported later. It does not guarantee future performance, determine insurance coverage, interpret a warranty, or replace the work of an engineer, electrician, solar professional, or licensed contractor when those services are required.
Clear scope and timing make the report more useful. Before panels go on the roof, confirm what will be inspected, when the inspection will occur, and how the findings will be delivered. If you need a qualified roof professional, use NRCIA’s Find a Member directory to locate an accredited member in your area.
LeakFREE®, Forensic ROOF®, Mr. RoofCheck®, InspectionPLUS®, Today’s Inspection… Tomorrow’s Protection®, and Got Leaks?® are registered trademarks of Field Gate FLP, used by permission. RoofGUARD™, ForensicGUARD™, DisasterGUARD™, E3GUARD™, and Think Like a Raindrop™ are trademarks of Field Gate FLP. SolarCHECK™ is a trademark of Field Gate FLP.